
Starting your content creation journey can be daunting and there are a lot of different elements to prepare before you first go live or hit record. Whether you’re gaming on Twitch, starting a podcast or even delivering your own TED talk, making sure your audio is top notch is crucial.
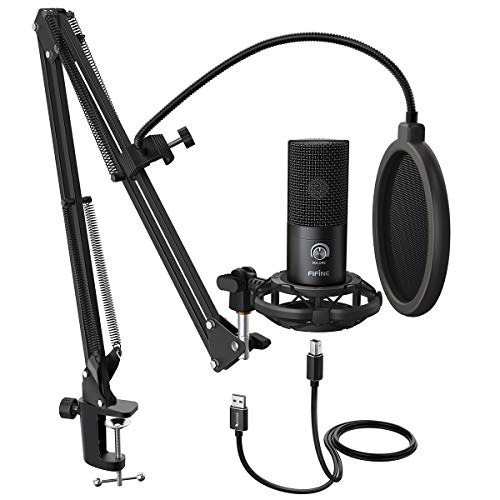
If you’ve already picked the right microphone, it’s time to get it set up and make sure you know the ins and outs of how to record with it. Let’s get you sounding great.
How to Record With a Microphone: Step by Step
Step 1: Get Ready to Record
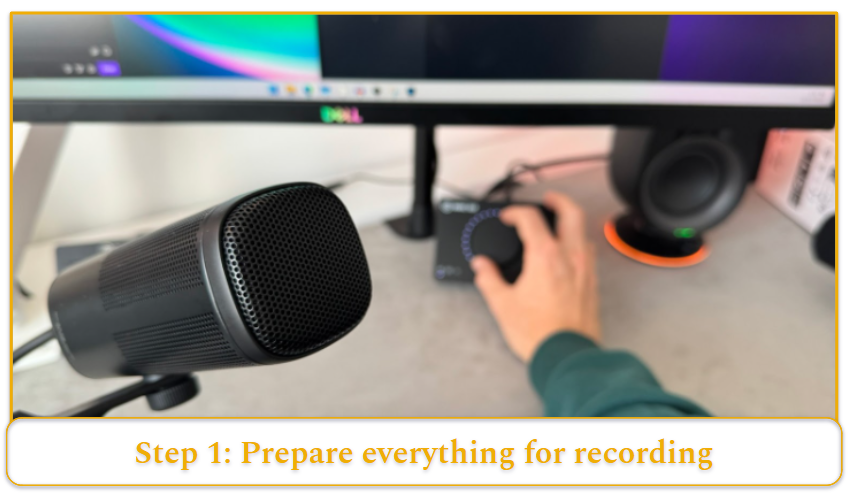
Fail to prepare, prepare to fail — it’s a saying that rings true when it comes to recording high quality content. Take your time with getting ready and make sure you get the basics right. Over time, you’ll get quicker at setting up but it’s important not to rush when you’re first starting out.
Make sure your space is as quiet as possible. Do you really need that air conditioner on? Can you close a window to shut out traffic noise? Have you turned your phone on silent? You may not be able to silence everything but the more distractions you can get rid of the cleaner your sound will be.
It’s good practice to give this a quick mental checklist though.
- Is everything connected and powered on?
- Is your microphone positioned correctly?
- Is the gain dial where you left it?
The more content you create you’ll start to do these checks in autopilot but when starting out you may find it useful to make an actual list in your phone or even on a physical notepad.
With your room ready and your gear checked, test it. Taking 30 seconds to do a quick dummy recording before the real thing can save a world of pain down the line. There’s nothing worse than finishing your best ever episode and realising you were muted or sounded funny the whole time.
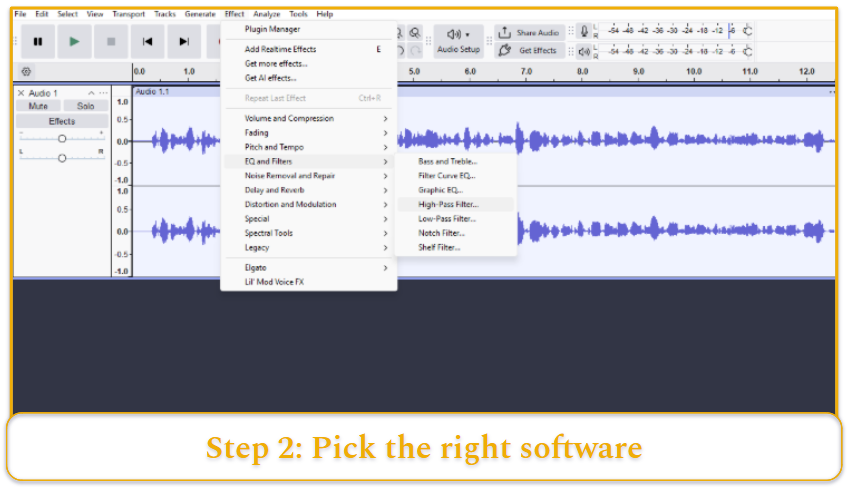
Step 2: Choose the Right Software
While there are a number of excellent paid apps for podcasting and content creation, when you’re starting out there are plenty of free options that are more than up to the task too.
- OBS (Open Broadcaster Software) — Free and open-source, OBS has been the go-to for gaming content creators for a number of years. It’s a simple bit of software out of the box but can be incredibly powerful with a range of community created plugins, add ons and elements.
- Audacity — Made for audio only, Audacity is a better choice for recording sessions and multi-track audio. Again it has everything you need to get started included as standard but can be made more advanced with third-party plugins.
- Windows Sound Recorder — Just need to grab a quick audio clip? The solution is ready and waiting on your PC. Windows Sound Recorder is as simple as it gets but does a great job with a really clear interface.
- Apple Voice Memos — Recording on an Apple device? You’ve got a built-in option too. Like its Windows counterpart, the Voice Memos app is basic but perfect for recording simple, standalone voice clips.
Step 3: Optimize Audio Clarity
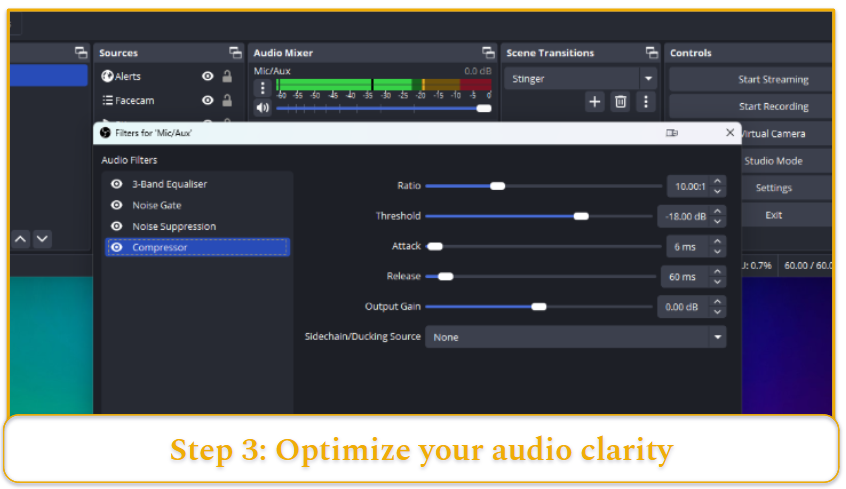
There are a range of tools and techniques for putting the finishing touches on your audio, but they’re exactly that — finishing touches. Filters and EQ settings can be the icing on the cake, but if you burn the cake first you aren’t going to save it by covering it in icing.
The most important part of optimizing your audio clarity is recording the cleanest audio you can in the first place. But assuming you’ve already done that, plugins and filters can take your sound to the next level.
Removing Background Noise
Consider adding a Noise Gate and/or High-Pass Filter to soften any unavoidable background noise from your recording space. A Noise Gate stops anything below a certain gain level being recorded, while a high-pass filter turns down low frequencies to remove rumbly atmospheric sounds.
Normalize Your Sound
When your voice is the main event without background music or game sound, you might just want to sand off the rough edges.
A De-Esser filter is a good option here as it reduces the impact of harsh ‘ess’ sounds, while a Compressor will normalise your audio volume and stop you peaking if you get a little animated.
Dial In
EQ is the most common way to lift your audio to another level and it’s well worth playing around with different levels and understanding what each does.
Apps like OBS and Audacity both include basic options however both can be improved with more advanced, additional EQ plugins.
Everyone’s voice is different so you’ll need to experiment yourself but in general boosting mid-range frequencies will make you sound more full-bodied and richer, while boosting higher frequencies will add a crisper, sharper edge.
Step 4: Speak into a microphone properly
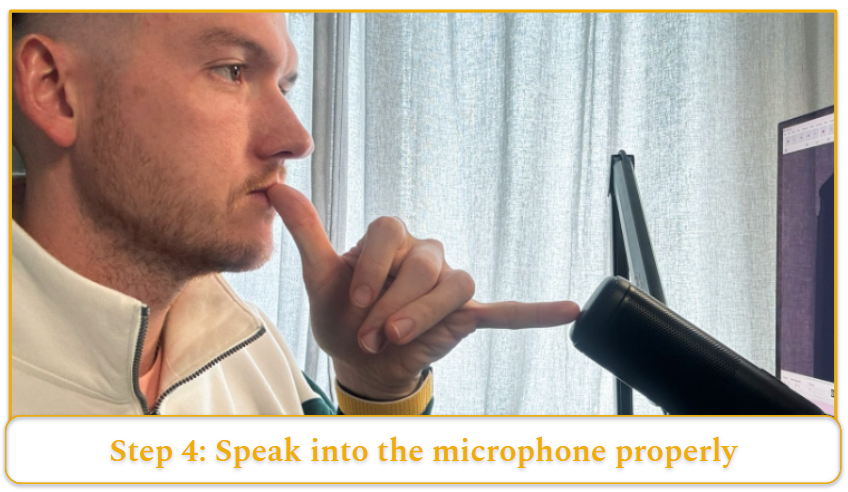
Maintaining good microphone etiquette is a fundamental skill if you’re going to create quality content
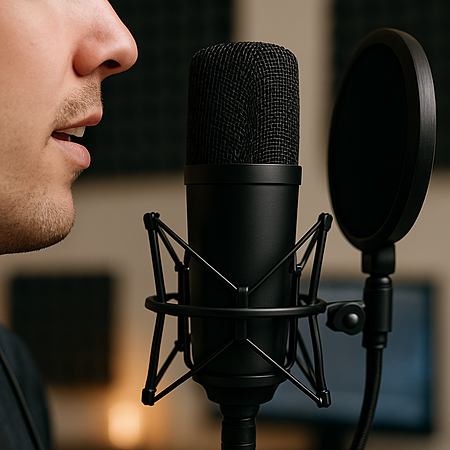
- Start by making this sign with your hand 🤙 — that’ll give you a rough idea of how far to have your mouth from the microphone.
- Some microphones, particularly dynamic mics, will benefit from getting a little closer but don’t get too close.
- If you can stick your tongue out and touch the microphone, you’re too close and you’ll start to distort your sound.
- Make sure you’re talking into the right part of the mic too. Each mic is different and generally it’s obvious, but make sure consult the manual or have a quick look online if you’re not 100% sure.
- Dynamic microphones are often addressed from the end with the microphone pointing towards you, condenser microphones are generally addressed from the side with the microphone pointing straight up.
How to Recording Different Types of Audio
Having the right tool for the job can make all the difference and when it comes to recording audio that’s definitely the case.
Streaming and Content
A dynamic or condenser microphone can both work here depending on your environment and style. Dynamic microphones are more forgiving when it comes to unwanted room noise, but they require greater mic etiquette and often additional hardware like an audio interface. Condenser microphones will record far more room noise but record the full wavelength spectrum so tend to sound more clear and natural.
A mic arm is generally a good investment here as it allows for more specific positioning, handy if you want to keep your mic out of the way of your face on camera. You might look to add a pop filter but this is less important when your voice isn’t the sole focus and it’s mixed in with game sound or background music.
Podcasting
If you’re looking for that classically deep, rich vocal sound you hear in popular podcasts you’ll want a dynamic microphone. It’s also important you consider your recording space and look to soften hard surfaces to prevent any reverb or roominess in your sound. You can achieve this either with proper acoustic foam, or if you’re not on camera, lots of home-based creators record amongst their clothes in a wardrobe.
For podcasts or audiobook style recordings where your voice is the sole sound, you’ll definitely want to add a pop filter and utilize the full range of filters to dial things in.
Vlogging
If you’re going out and about and still need to record clean audio there are a lot more things to think about. A wireless lavalier microphone is generally a good option as it’ll record natural sounding audio with the flexibility of not worrying about your movements. These generally come with clip-on windsocks but are still prone to picking up a lot of environmental disturbance.
The other option to consider is a shotgun microphone. These are generally camera mounted or held on a boom pole and are highly directional. As they’re off camera they can be bigger with greater protection from the elements but will need to remain closer to and more importantly, correctly positioned towards what you’re trying to record.
Lectures and Meetings
Lecture halls and meeting rooms tend to be nice, quiet spaces but the challenge is often recording audio from multiple sources effectively. A wireless lavalier could be a good choice for the main presenter as it allows freedom to move around and a consistent sound. If the speaker is staying at a lectern then a mounted condenser mic is likely the way to go.
But what about a meeting room with multiple voices around a table? The consideration here is pickup pattern more than microphone type. Look for an omnidirectional microphone and ensure it’s positioned centrally in the group.