Even the best microphones can sound terrible if they’re not configured correctly, but setting up a microphone doesn’t have to be difficult. There are a few key things to be aware of and some really simple things that often get overlooked. So, let’s go over everything you need to do to get started.
A note before we dive in: every setup is different in terms of the hardware you have, the space you’re recording in and what you’re looking to record. This guide will cover the fundamentals but you’ll want to do some testing and make tweaks to get the best results for your own situation.
How to Set Up a Microphone: Step by Step
Step 1: Connect your microphone
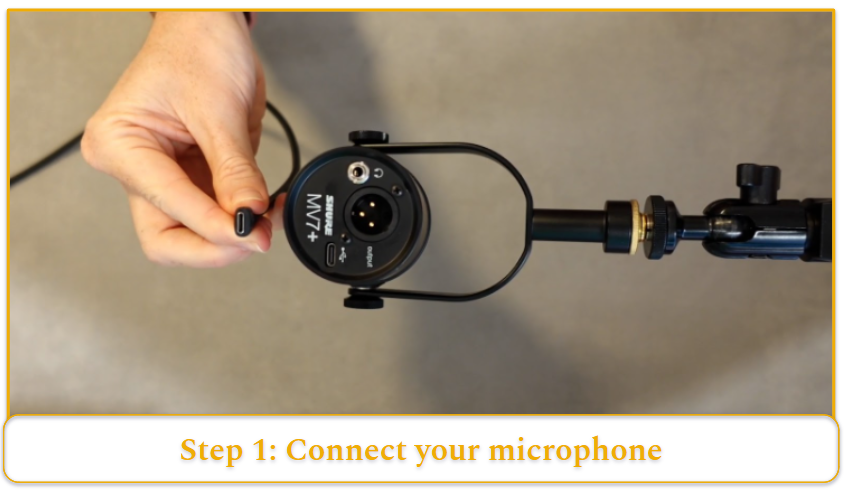
Getting started with modern microphones is easy, especially if you choose a USB mic, which is typically plug-and-play.
USB Microphone Setup Tips:
- Always connect your microphone’s USB cable directly to your PC. While USB hubs or extenders may work, they can cause issues.
- Many newer mics use USB-C, so if possible, use a USB-C to USB-C cable for a more stable connection. If your mic doesn’t include one, consider purchasing a quality cable.
- If USB-C isn’t an option, choose a USB 3-rated cable and port. USB 2 ports may struggle to handle the data transfer, and some mics might not work with them at all.
For XLR microphones, the process is slightly different because you’ll need an additional device:
- Connect the XLR mic to an audio interface or mixer using an XLR cable.
- Connect the interface/mixer to your PC using a USB cable.
Step 2: Check if you’re connected properly
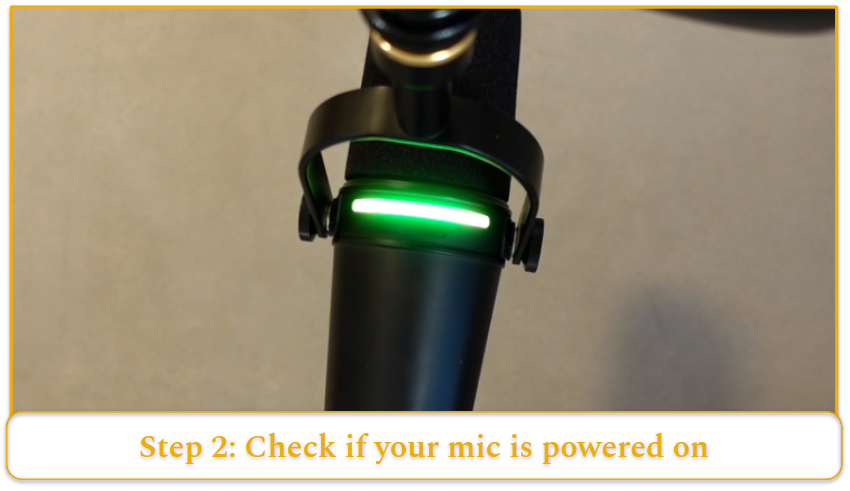
Once you’re plugged in, make sure your microphone is connected and powered. Most USB microphones have an LED status light or RGB lighting, so check if it’s illuminated. If not, ensure you’re using a USB 3 or USB-C port and that all connections are secure.
Step 3: Install proprietary software

USB microphones often come with their own software, but it’s rare for the mic to require it to function. However, without the software, you may miss out on certain features and firmware updates, so it’s a good idea to download it if available.
If you’re unsure whether your mic has dedicated software, check the manufacturer’s website or the product’s user manual for more information. Most brands provide downloadable software on their support or product pages.
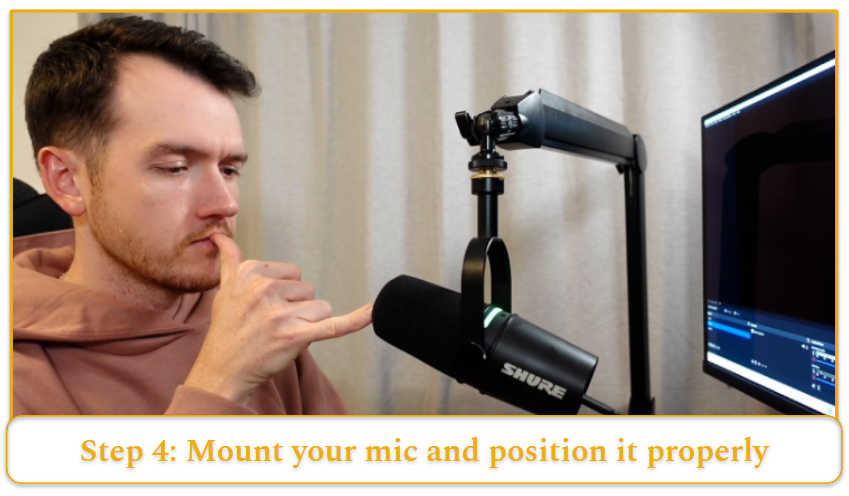
Step 4: Mount your microphone
Some mics (especially condenser ones) come with their own stand, so you can just plop it on your desk. That works fine, but if you can swing it, I’d definitely recommend getting a mic arm instead.
A mic arm lets you position the microphone exactly where you want it, which makes a big difference in getting that perfect sound. Plus, it keeps the mic isolated from any vibrations or noises that can happen when the mic’s sitting directly on your desk, which means clearer audio.
After you mount your mic, it’s time to position it properly (whether you use a mic arm or a desk stand).
This might sound super obvious, but you’d be surprised how many people end up speaking into the wrong side of their mic, and that can really mess with your audio quality.
Here’s a quick tip: most microphones make it pretty clear which direction to speak into, but in general, you’ll usually speak into the top of a dynamic microphone and the side of a condenser microphone. If you’re using a mic arm, adjust it so that the mic’s facing you at about mouth level, ideally a few inches away from your face. This helps pick up the clearest sound while keeping unwanted noises to a minimum.
A good trick is to test it out while speaking normally, or even recording yourself to double-check the sound. If you hear too much popping or distortion, you might need to tweak your positioning a little.
Step 5: Install a recording software
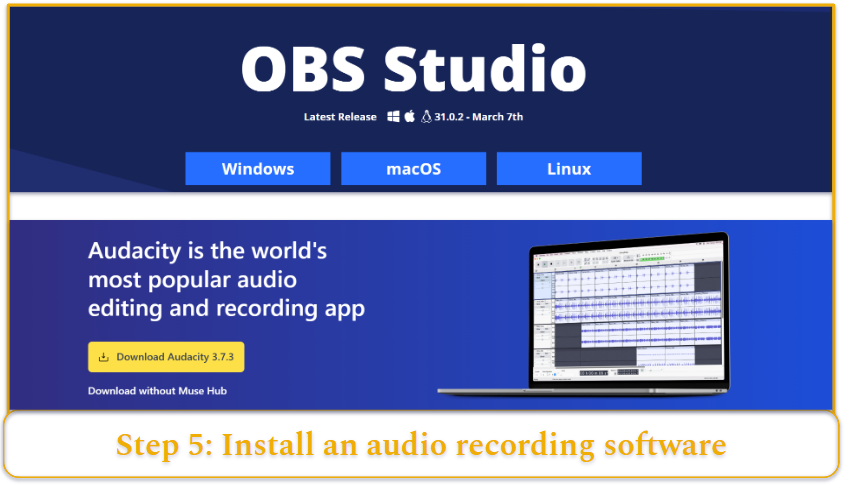
If you’re looking to record and haven’t chosen an app yet, both OBS and Audacity are solid, free, and super popular. OBS is great for streaming and recording video, while Audacity is perfect for audio-only recordings. Both are simple to use, and Audacity even lets you tweak your recordings afterward.
Make sure your software is actually using your mic. You’d think it would just work, but Windows’ “default” option doesn’t always pick the right one. It’s always better to manually select your microphone in each app for the best sound quality.
Step 6: Adjust gain
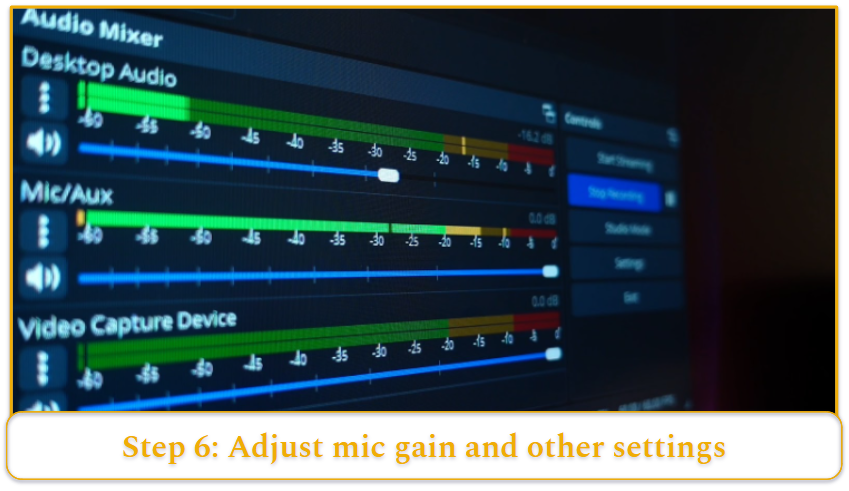
Once you’ve got your app set up, the next step is to make sure your mic is picking you up at the right volume. Most apps will show a VU meter (those colored bars that react to your voice), and you want your voice to move the bar into the yellow zone while talking at your normal speaking level. This is usually around -18dB, but it can vary a bit depending on your setup.
Here’s how to get everything dialed in:
- Adjust the gain: Some mics have a physical dial to control gain, while others require you to tweak it in the software. Start by adjusting until you hit that sweet spot in the yellow zone on the VU meter.
- Test different mic positions: Try moving the mic around, adjusting the angle, and listen to the results. This can make a big difference in sound quality. Keep experimenting with the mic’s placement to find the best position for your voice.
- Balance the gain: Play around with turning the gain up or down slightly until you get a consistent and clear sound. It’s all about finding the right balance for your voice and environment.
- Avoid distortion: If your levels are too high, you’ll experience distortion (called peaking), which is super unpleasant. Keep an eye on the VU meter and make sure it doesn’t spike into the red. Test your levels by speaking louder than usual or even trying a quick shout to see how high the levels go.
Do a few test runs and make adjustments until everything sounds crisp, clear, and distortion-free.
At this point, your setup should be sounding pretty good—but now we’re going to make you sound great. This next step is where the magic happens, but it also takes a bit of trial and error since every creator and mic setup is different. But no worries, we’ve got a starting point with these essential filters that’ll make a big difference:
- Compressor: A compressor helps balance your audio by reducing the gap between your loudest and softest sounds. It prevents peaking and keeps things smooth, so even if you suddenly get louder (think shouting in excitement), the compressor will soften those peaks and keep your audio clean.
- Noise Gate: This one’s like an automatic push-to-talk. It mutes your mic when the input is too quiet, which is perfect for eliminating background noise like the hum of a fan or air conditioner. If your environment isn’t perfect, the noise gate can clean up your sound by only letting your voice through.
- High-Pass Filter: A high-pass filter gets rid of those low-frequency rumbling sounds, like traffic noise or the hum of your AC. This ensures those annoying background noises don’t overpower your voice, keeping you the main focus.
- De-Esser: The de-esser smooths out harsh “s” and “sh” sounds that can be a bit jarring in recordings. It’s especially useful for spoken content, like podcasts or streams, helping your voice sound more natural and less sharp.
- Equalizer (EQ): The EQ filter is the most customizable, giving you control over the different frequency bands in your voice. Want to make your voice richer? Boost the mids. Craving a crisper sound? Dial up the highs. While EQ can require some fiddling, it’s your best tool for making your voice sound just how you want it. Many programs have EQ presets, which are a great starting point. You can always tweak them to fit your voice even better.
Take your time with these filters, test them out, and experiment until you find the perfect balance for your voice and setup. It’s all about getting that clean, natural sound that makes you sound your best!
How Should I Position My Microphone?
Positioning your microphone is crucial to getting the best sound, but it’s also a bit of a balancing act, and it really depends on your environment.
A good starting point for most setups is this emoji: 🤙. Picture the “hang ten” gesture, with your little finger resting on the mic and your mouth near the end of your thumb. This is about the right distance for most microphones in a typical setting.
If you’re using a dynamic mic, you might need to be a bit closer to really hone in on your voice. For condenser mics, you can afford to be a little farther away.
If your environment is noisy or not well sound-treated, getting a little closer to the mic can help. This lets you lower the gain and cut out softer background noises. However, don’t get too close—too much proximity can cause distortion, especially with plosive sounds (think B’s and P’s).
And don’t forget to consider what’s happening around you. If you’re streaming while gaming, for example, and your keyboard is clacking away, try moving the mic away from the noise. A mic arm can help by positioning it above and in front of you, keeping it out of the way of any unwanted sounds.
How to Set Up Multiple Microphones
Got a great idea for a podcast or planning to interview people sitting across from each other? You’ll want to grab a dynamic microphone. We’ve talked more about the different types of mics here, but in a nutshell, dynamic microphones are super focused and less likely to pick up other voices around the room.
When setting up, don’t crowd everyone together. Not only will it get uncomfortable, but the further apart you can place the microphones, the less risk there is of audio crossover. And try to avoid having guests face each other directly. Even though cardioid mics reject sound from the rear, you don’t want to capture too much noise from nearby chatter. A slight diagonal or downward tilt for the mics can help direct sound the right way.
While it’s always better to capture clean audio right from the start, a noise gate filter can help cut out any unwanted side conversations. It’ll block anything below a certain volume, so each mic only picks up the person it’s supposed to be recording.
Lastly—don’t forget to do a test recording! It’s always tempting to skip, but trust me, a quick sound check will save you from regretting hours of bad audio. It’s way better to test for a minute than to waste time recording with bad sound.
How to Complete a Professional Mic Setup
The microphone is just the start of your audio setup, and there are several accessories that can take your recording space to the next level. Here are a few to consider:
Pop Filter / Windshield
When you say words with hard consonants (like “p,” “b,” or “t”), a burst of air hits the microphone, causing distortion. You can test it by saying “pop, bop, top” while holding your hand near your mouth, then try it with your sleeve over your hand. The difference is clear, right?
A pop filter works the same way for your mic, blocking that burst of air before it hits the diaphragm.
Pop filters are usually a fabric disc that attaches to your mic, while a windshield (or foam cover) slides over the entire microphone. Pop filters are more universal, while windshields are often specific to your microphone model.
Shock Mount
Sound is vibration, and your microphone can’t tell the difference between vibrations from your voice and vibrations from bumps or knocks on your desk. This is where a shock mount comes in. It isolates your microphone from these external disturbances, reducing unwanted noise from your desk, mic arm, or any accidental bumps.
Shock mounts typically suspend your mic with elastic straps, so while universal mounts are available, it’s generally best to get one from the same brand as your mic for optimal fit and performance. Or, you can just avoid knocking your desk while recording… but where’s the fun in that?
Mic Arm / Boom Arm
We’ve touched on this before, but a mic arm is a great way to position your microphone more easily while freeing up desk space for other gear. Mic arms come in a range of styles, from budget to premium. While they all do the same basic job, it’s worth investing a bit more in a mic arm from a trusted brand.
Cheaper mic arms often have exposed springs that can be noisy, and they might struggle with heavier microphones or have limited movement. Mid-range arms tend to be quieter, offer better support for heavier mics, and often feature nicer designs with built-in cable management.
Acoustic Foam
Hard surfaces love to reflect sound, and in non-professional spaces, that means unwanted reverb and roominess in your recordings. Acoustic foam panels help absorb sound waves and prevent them from bouncing back toward your mic, improving overall audio quality.
While acoustic foam can be a useful addition, it’s often better to invest in other elements of your setup first (like a good mic arm or shock mount). However, if you think foam panels look cool, or if you’re in a really echoey space, they can certainly help tidy up your sound. Just be sure to place them properly for maximum effect.
FAQ
What to do if my computer doesn’t detect my microphone
What to do if my microphone is too loud
It’s generally a better habit to capture audio that’s slightly too quiet and boost this with software rather than capturing audio that’s already slightly too loud and trying to soften it.
How far away should my microphone be from me
Does every microphone need a pop filter
How do I listen to my microphone’s output
What are good microphone settings
Try things out, spend some time working through various microphone placements and filter combinations to find the sound you’re most happy with.