


Portable air conditioners work by pulling warm air from the room through refrigerant-filled coils and pumping heat outside through an exhaust hose. Fresh, cool air flows back into your space as the AC unit removes excess moisture through condensation.
It’s similar to how window ACs work, but the main difference is that window ACs mount directly in window frames. With portable ACs, you have more flexibility because they can sit on the floor with a window-connected exhaust hose. Beyond standard window venting, I’ll cover alternative installation approaches like wall venting that many homeowners overlook.
How Does a Portable Air Conditioner Work?
Here’s the basics of how a portable air conditioner works:
The Cooling Process
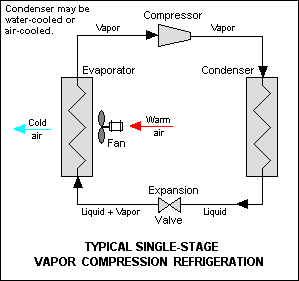
Vapor Compression Refrigeration cycle
The vapor-compression cycle powers portable AC cooling through four distinct phases.
- First, the compressor pressurizes refrigerant (typically R410A) to 400+ PSI, which raises its temperature to around 120ºF.
- This high-pressure gas then flows through the condenser coils where it releases heat and converts to a liquid.
- The liquid refrigerant passes through an expansion valve, which quickly drops the pressure. This sudden pressure drop flash evaporates some refrigerant, which cools the remaining liquid to about 40ºF.
- This cold liquid fills the evaporator coils in the portable AC unit. It then removes heat from the warm air as it blows across these cold coils.
- The liquid refrigerant then returns to the compressor to restart the cycle.
For reference, a 12,000 BTU portable AC unit moves about 300 cubic feet of air per minute through this cycle. The temperature of the air leaving the unit typically drops 15–20ºF below the room temperature.
Depending on the indoor air humidity, the portable AC unit will extract water from the air. It will either drain into a reservoir or drip out of a hose into a floor drain — more on that later. However, many models are self-evaporating (i.e., you don’t need to drain them).
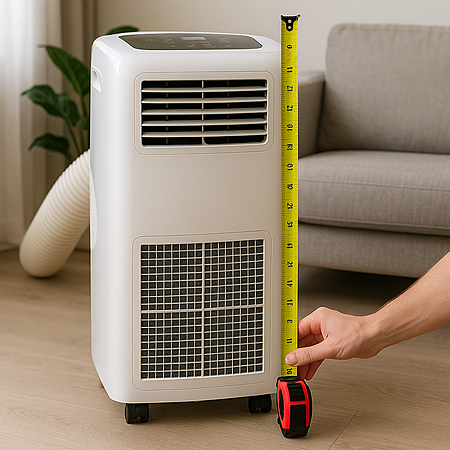
Sizing and BTU Output
- British Thermal Units (BTUs) and tons indicate a portable AC unit’s cooling power.
- One ton of cooling capacity equals 12,000 BTUs.
- To put that into perspective, a 10,000 BTU model cools rooms up to 300 square feet, like a master bedroom or small studio apartment.
- A 14,000 BTU unit handles 500 square feet — perfect for open-concept living spaces or small retail shops.
- For sunlit rooms, add 10% BTU capacity. Southern-facing windows add significant heat gain — a 300-square-foot room might need 12,000 BTUs instead of 10,000.
- Kitchens need an extra 4,000 BTUs to offset heat from cooking appliances.
- High ceilings above 8 feet require another 10% capacity for every additional foot.
Most homeowners undersize their units. A 400-square-foot room with 9-foot ceilings, afternoon sun exposure, and kitchen appliances needs at least 14,000 BTUs — not the 12,000 BTUs suggested by square footage alone.
Moisture Removal Methods
Portable ACs capture moisture during cooling through three main methods:
- Self-Evaporation: Condensation helps cool internal coils before leaving through the exhaust. This is a low-maintenance design.
- Internal Bucket: A removable container collects water until full. Some portable AC units can hold three liters or more and will auto-shut off until you empty them.
- Gravity Drain: A connected hose routes water to a drain or outside. Portable ACs like this usually come with a drain hose for continuous operation.
Wall Venting Installation
Rather than window mounting, you can vent through an exterior wall using a hole saw and proper vent kit, as I did in my garage. My attached garage has no windows, so I had to use this method to vent the exhaust outside.
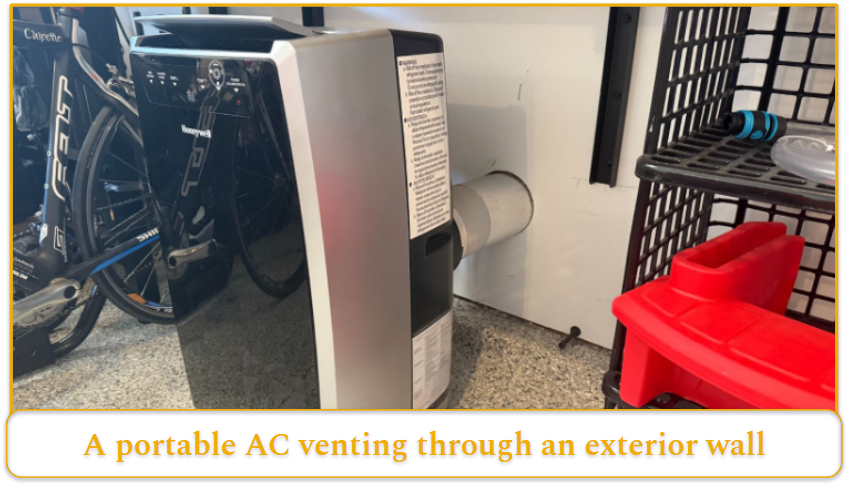
Here’s how I installed mine.
- Mark and cut the exterior wall opening 12 inches above the floor level (or the same height as your portable AC unit’s exhaust hose). Make sure you are cutting between two wall studs (and not through one).
- Mount a metal wall sleeve with an exterior weather cap.
- Attach the exhaust hose using metal duct clamps.
- Seal any gaps with expanding foam insulation.
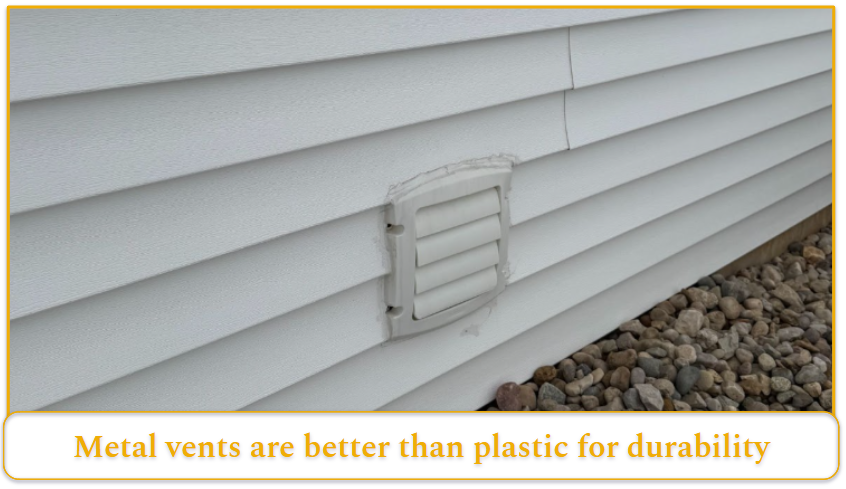
Wall venting works best through walls under 8 inches thick. The exhaust hose loses efficiency over longer distances. I recommend metal vents as they last longer than plastic and resist UV damage.
Single Hose vs Dual Hose: Which is Best?
- Dual-hose portable ACs achieve 40% better cooling efficiency than single-hose models.
- One hose draws outside air for component cooling and the second removes heat.
- Single-hose systems cost $100-200 less but sacrifice performance. They exhaust indoor air, creating negative pressure that pulls warm air from adjacent spaces.
- Dual-hose units cost more upfront but can save $15–$30 monthly on energy bills compared to similar single-hose models.
Performance Differences
Dual-hose portable ACs cool spaces 25% faster since they preserve conditioned air. Running both fans increases electricity use by 50-100 watts per hour, but the improved efficiency can cut energy usage by 30%. In 90ºF+ weather, a single-hose unit may struggle and run constantly to keep your room cool.
Under identical conditions, a dual-hose unit could maintain a 15ºF temperature differential, while a comparable single-hose model may be able to only manage 10–15ºF. This performance gap widens in larger spaces and hotter conditions.
If you frequently see hot temperatures where you live, I recommend getting a dual-hose model. On the other hand, if you live in an area that has milder and shorter summers like me, then a single-hose model should be good enough.
Hoseless Portable ACs: A Warning
Manufacturers sometimes market evaporative coolers as “hoseless” air conditioners. These swamp coolers rely on water evaporation rather than refrigerant. In 60%+ humidity, they struggle to lower temperatures by more than 3–5ºF.
An evaporative unit might work in Phoenix where humidity stays below 30%, but it will only raise humidity levels in Atlanta without providing any noticeable cooling. True refrigerant-based portable ACs are the only reliable option for most climates.
Portable Air Conditioner Maintenance
I recommend using these maintenance steps to keep your floor AC unit running efficiently:
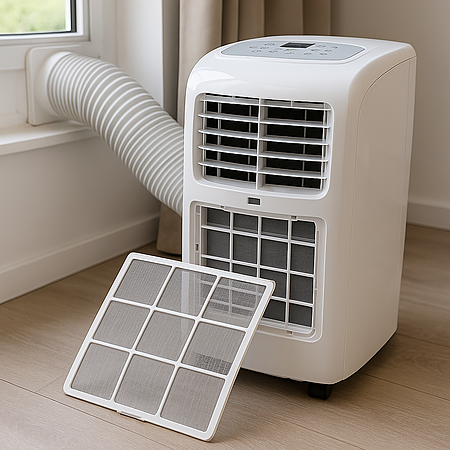
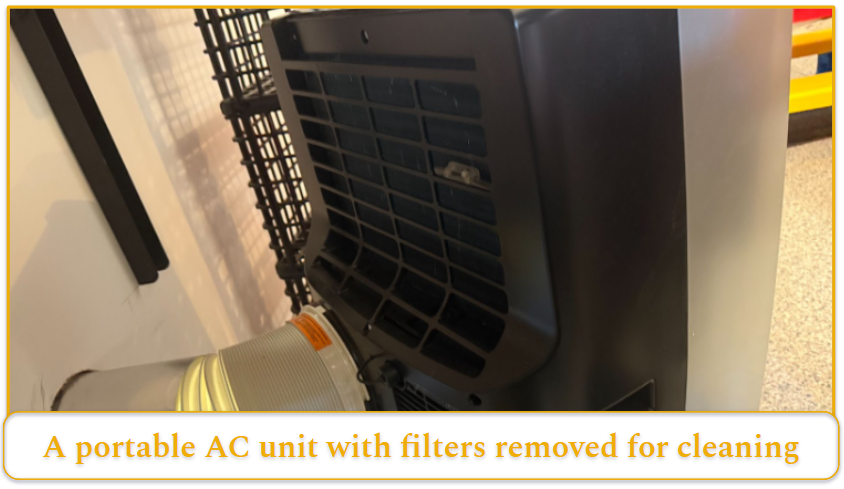
- Clean or replace the air filter monthly during summer. Rinse washable filters in warm water, shake off excess, and air dry 12–24 hours before reinstalling. A clean filter boosts cooling by 15%.
- Check the condensate tank every three days in humid weather. Most 14,000 BTU units hold 3-4 liters. Connect a garden hose for continuous drainage if your model allows.
- Remove dust from the evaporator and condenser coils each spring. Use compressed air or a soft brush at a 45-degree angle to protect the aluminum fins. Dirty coils cut efficiency by 30%.
- Clear debris from the exhaust hose quarterly. Straighten any kinks that restrict airflow. Replace cracked hoses and tighten loose connections with metal duct tape.
- Deep clean before seasonal storage. Run the fan only mode for about six hours to dry internal components. Store it upright in 60–80ºF temperatures to protect the compressor.
How to Get the Most out of a Portable Air Conditioner
Use these tips to get the most out of your mobile AC unit:
Optimal Installation
- Place the portable AC unit as close to the window or wall vent as possible. Each bend in the exhaust hose reduces the airflow, negatively affecting its cooling and increasing its energy usage.
- If you’re venting out a window, seal the gaps around the window kit with 1-inch foam weatherstripping rated for high temperatures.
Room Preparation
- Angle your portable air conditioner to the center of your room.
- Pull curtains down during peak sun (generally 10 AM to 4 PM).
- Keep the unit away from other heat sources such as TVs, lamps, computers, etc.
- For multi-room cooling, position the AC unit near the central hallway and strategically place fans to circulate the cold air.
Temperature Management
- Program your portable AC unit to 78ºF when you’re home and 82ºF when you’re away. Each degree below 78ºF will increase your energy use by about 3–5%.
- Smart models from manufacturers including Honeywell and LG can output based on the room conditions and your personal schedule.
- Morning temperatures between 75–77ºF feel comfortable as people wake up.
- Afternoon settings of 78–80ºF match your body’s natural temperature rhythm.
- Overnight temperatures of 82ºF save energy while remaining comfortable for sleeping.
Airflow Optimization
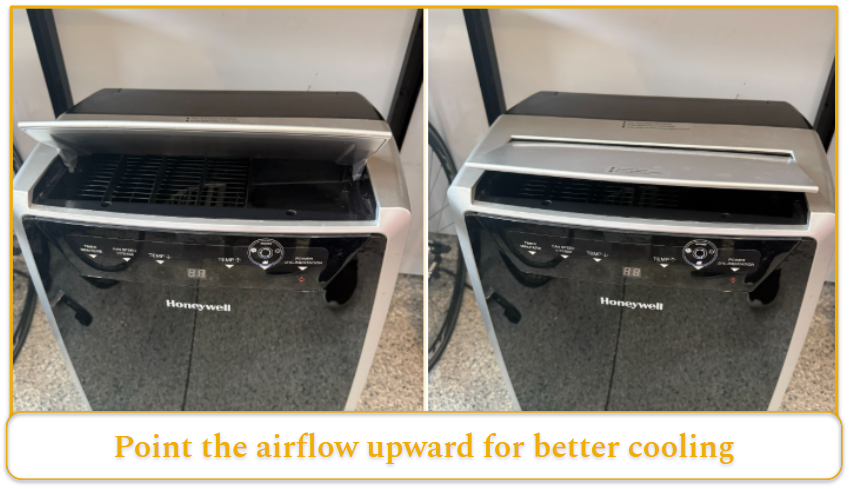
Aim the portable AC unit’s adjustable louvers 30 degrees upward – cold air naturally falls because heat rises. So, it is best to point the airflow upwards toward the center of the room and preferably run a ceiling fan to provide more even cooling.
Strategic Fan Placement
- Position a box fan 8 feet from the AC unit angled 45 degrees up.
- Run ceiling fans counterclockwise at medium speed to spread cool air 20% farther. This cross-ventilation setup moves cold air into dead zones.
- Large rooms benefit from multiple fans. Place floor fans at the 10, 2, and 6 o’clock positions relative to the AC unit. This creates a circular airflow pattern that eliminates hot spots and stagnant areas.
Space Requirements
- Leave at least 14 inches of clearance behind and 12 inches on each side of the portable AC unit. Blocking the air intake makes the compressor work harder.
- Furniture placement affects airflow significantly. Keep sofas and beds 3 feet from direct cold air streams.
- Bookshelves and tall cabinets can block air circulation — you should leave 18-inch gaps every 8 feet for better flow.
Ventilation Upgrades
To reduce the loss of cool air through the window exhaust, replace plastic window kits with 1/4-inch plexiglass custom-cut to your window. Also consider insulating the exhaust duct sleeve to reduce heat transfer inside from the exhaust pipe.