


Have you ever wondered what actually happens when you hit “blend”? Whether you’re making a smoothie, soup, or a creamy dressing, a blender can turn solid ingredients into a smooth mixture in just seconds – but how does that work?
In this article, we’ll walk you through how a blender works, what role each part plays, and why some types of blenders are better suited for certain tasks. If you’ve ever been curious about the hidden mechanisms that make a blender work, you’re in the right place! Keep reading to find out.
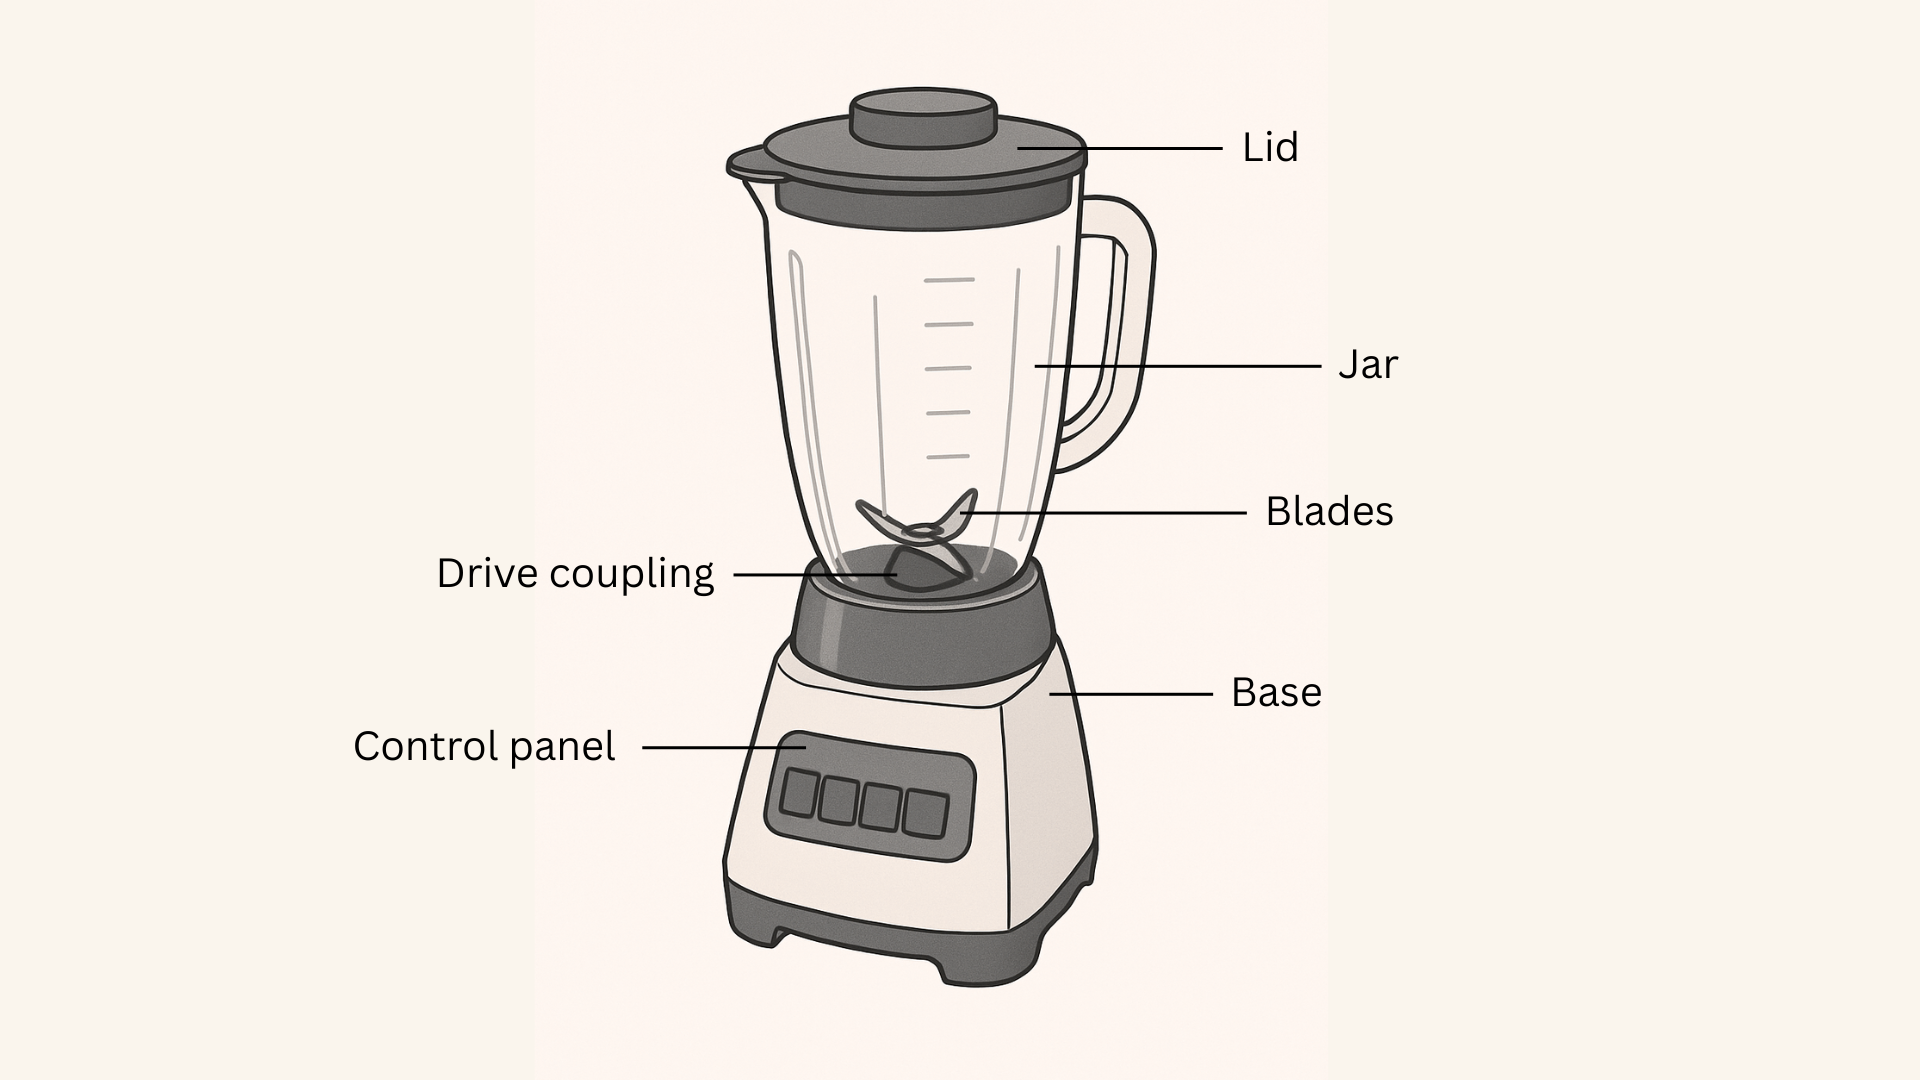
Blender Components and Their Functions
-
Base
- What it is: The bottom part of the blender that houses the motor and supports the jar.
- What it does: Generates the power needed to spin the blades and blend ingredients efficiently.
- Why it matters: A stronger motor can handle harder ingredients like ice, frozen fruit, or nuts without overheating or jamming. It also affects how smooth your final blend will be.
-
Blades
- What they are: Sharp metal blades, usually made of stainless steel.
- What they do: Cut, crush, and blend ingredients by spinning rapidly to create a vortex that pulls everything downward.
- Why they matter: Blade shape and angle determine how efficiently ingredients circulate and how smooth the texture becomes. High-quality blades make blending faster and more consistent.
-
Drive Coupling
- What it is: A small piece that connects the motor to the blades.
- What it does: Transfers power from the motor to the blades, making them spin at high speeds.
- Why it matters: If the coupling wears out or breaks, the blades may not spin properly even if the motor runs. Durable couplings extend the blender’s lifespan.
-
Jar or Pitcher
- What it is: The main container that holds your ingredients, usually made of glass, plastic, or stainless steel.
- What it does: Contains the ingredients while they’re being processed, and its shape helps direct the flow of the blend toward the blades. Some jars double as portable to-go cups in smaller models.
- Why it matters: Jar shape influences blending efficiency – wider jars handle larger batches, while narrow ones help create stronger vortexes. The material also affects durability, weight, and resistance to stains or odors.
-
Lid and Cap
- What it is: A lid that seals the top of the jar – often with a removable middle part to add ingredients while blending. In some bullet-style blenders, the blades are attached to the lid instead.
- What it does: Prevents spills and splashes while the blender runs. The center cap allows you to safely add liquids or seasonings as needed.
- Why it matters: A secure, tight-fitting lid is essential for safety and cleanliness. Removable caps are especially useful for adjusting texture or adding ingredients without stopping the blender.
-
Control Panel
- What it is: The set of buttons, dials, or touchscreen controls located on the base.
- What it does: Lets you power the blender on and off, adjust speed levels, and select specific blending functions or presets.
- Why it matters: Gives you control over blending precision – from chunky salsa to silky smoothies. More advanced models include pulse modes, timers, or preset programs for one-touch operation.
How a Blender Works: Step by Step
Step 1: Power Flows to the Motor
When you turn the blender on, electricity flows to the motor, which generates the rotational force (torque) needed to make the blades spin.
Step 2: The Motor Spins the Blades
The motor transfers power through the drive coupling to the blade assembly. As the coupling rotates, it makes the blades spin at high speeds, setting the blending process in motion.
Step 3: The Blades Create a Vortex
Blender blades are angled to maximize efficiency. As they spin, they create a vortex that pulls the ingredients down towards the blades, then pushes them back up along the jar walls. This constant motion ensures all ingredients are evenly blended.
Step 4: Ingredients Are Broken Down
Within this vortex, the blades chop, crush, and liquefy ingredients. Softer foods blend quickly, while harder items like ice or nuts take longer and require more power to achieve a smooth consistency.
Step 5: Liquids Help Maintain Flow
Adding enough liquid is key. Liquids help ingredients move freely through the vortex, preventing air pockets and ensuring a smooth, even texture.
Step 6: Speed Settings Control Texture
Most blenders have multiple speeds and a pulse function.
- Low speeds are ideal for soft or gentle mixing.
- High speeds work best for hard or frozen ingredients.
- Pulse mode produces short bursts of power that help break down chunks before blending continuously.
How Speed and Power Affect Performance
Not all blenders are built the same – both speed settings and power greatly impact blending performance. Blender motor power is usually measured in watts (W) or horsepower (HP). In general, a higher wattage or horsepower means the blades can spin faster and handle tougher ingredients without overheating or getting stuck.
- Low-powered blenders (around 300-500W): Ideal for daily tasks like blending soft fruits into smoothies or making protein shakes. These blenders are compact and easy to use, but they may struggle with ice or fibrous vegetables.
- Mid-range blenders (600-900W): They offer a good balance between power and price. These models can handle most tasks, including blending frozen fruits or small amounts of ice.
- High-powered blenders (1000-1500W or 2+HP): Designed for demanding tasks such as crushing ice, grinding nuts, or blending hot soups and nut butters. They produce smoother textures and often last longer, though they’re usually bulkier and more expensive.
Common Issues and How Blender Mechanics Play a Role
Sometimes your blender doesn’t exactly work as expected, and this is typically caused by some internal issues. Here’s a quick guide that connects common issues to their potential mechanical causes and suggests simple ways to fix them.
Are All Blenders the Same?
Blenders may look similar, but they’re not necessarily the same in terms of power, performance, and design. Here’s a quick guide to the main types and what sets them apart.
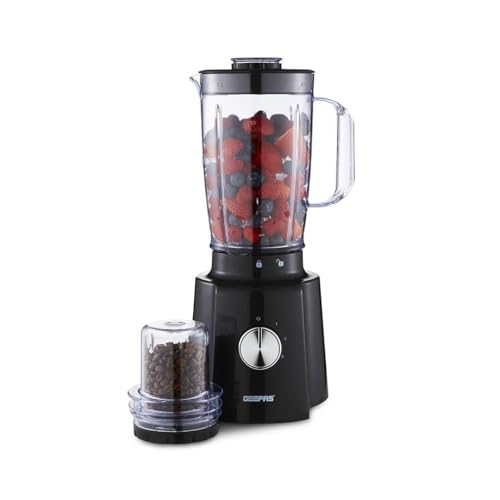
Standard Countertop Blenders
These are the most common types of blenders; they typically include a base, jar, and control panel. They’re versatile and can be used for a variety of everyday tasks, like smoothies, soups, and sauces. However, their performance can vary widely depending on the motor power, blade design, and overall build quality.
High-Performance Blenders
These premium models go beyond standard blenders with powerful motors (often 1000W+ or 2+HP) and advanced blade systems. They’re meant for tougher jobs like crushing ice, grinding nuts, or blending fibrous vegetables. They blend faster and lead to smoother consistencies, but they’re also bulkier, more expensive, and tend to last longer.
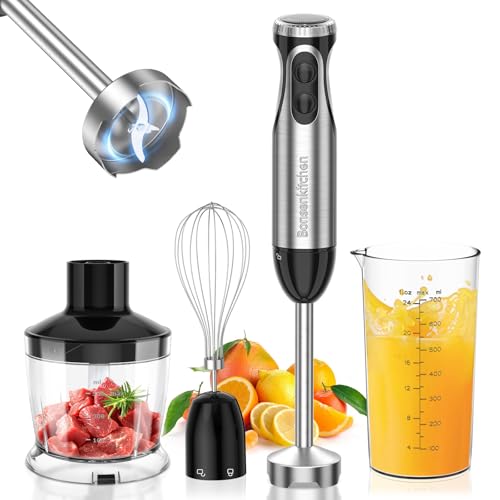
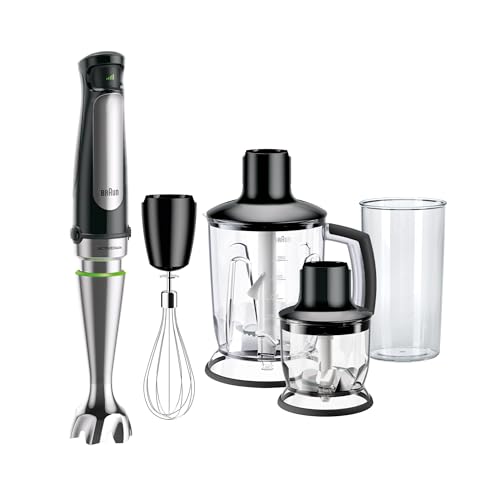
Immersion Blenders
Also known as hand or stick blenders, these are compact handheld tools that blend directly into your pot, bowl, or pitcher. They’re ideal for pureeing soups, whipping cream, or mixing sauces without transferring ingredients to a separate container. However, since they don’t create the same vortex as countertop blenders, the final texture might not be as smooth.
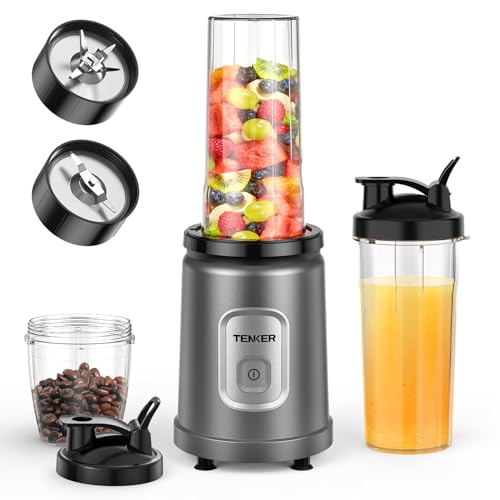
Bullet or Personal Blenders
Designed for single-serve convenience, personal blenders use a smaller blending jar that often doubles as a travel cup. They’re simple to use, don’t take up much space, and are easy to clean – great for smoothies or protein shakes. But their smaller motor is typically not very powerful, so they might struggle with hard or frozen ingredients.
Tips for Better Blending Results
Getting smooth, consistent results isn’t just about having a powerful blender – how you use it matters too. Follow these simple tips to make every blend easier and more effective.
-
Add Liquid First
Always add the liquid to the jar before adding the solid ingredients. This helps the blades move freely, creates a proper vortex, and prevents the motor from straining.
-
Layer Ingredients Wisely
Add ingredients to the jar in this order:
Liquids → Soft items → Frozen ingredients
This helps ensure smooth blending.
-
Cut Ingredients Into Smaller Pieces
Pre-chopping your fruits, vegetables, or frozen items before blending reduces the strain on the motor and helps achieve a smooth consistency faster.
-
Start Slow, Then Speed Up
Start blending at a low speed, then increase it gradually. This helps the ingredients circulate evenly and prevents air pockets or splashing.
-
Use Pulse Mode To Break up Chunks
Before blending continuously, pulse a few times to break down bigger chunks and harder ingredients without overheating the motor.
-
Don’t Overfill the Jar
Leave some space at the top of the jar so ingredients can circulate properly. Overfilling it can prevent the vortex from forming and can lead to leaks or uneven blending.
-
Clean It Right After Use
Add warm water and a few drops of dish soap, blend on high speed for 30 seconds, then rinse well. This is quicker and easier than scrubbing off dried residue later and keeps your blender performing at its best.