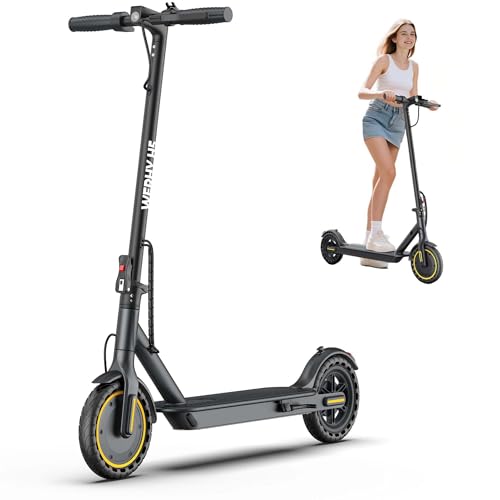


Summary: Learn how to properly inflate your electric scooter tires, from checking the PSI to choosing the right pump and avoiding common mistakes. Keeping your tires at the right pressure makes a noticeable difference in how your scooter rides, how far it goes, and how safe it feels.
Keeping your electric scooter tires properly inflated is one of the simplest ways to improve performance, safety, and overall ride quality. It’s a quick task, but one that’s often overlooked until something feels off – slower speeds, reduced range, or a rougher ride.
We’ll walk you through how to check and inflate your scooter tires correctly, what tools you’ll need, and how often to do it. Whether you’re doing basic maintenance or troubleshooting a pressure issue, the goal is to help you keep your scooter running smoothly with minimal effort.
Tools and Equipment You’ll Need
Before you start, it helps to have the right tools on hand. Inflating a scooter tire is simple, but the process becomes much easier (and more accurate) with proper equipment.
Pump
Most electric scooters use a standard Schrader valve (the same type found on car and bike tires), so any bicycle pump or portable air pump will work.
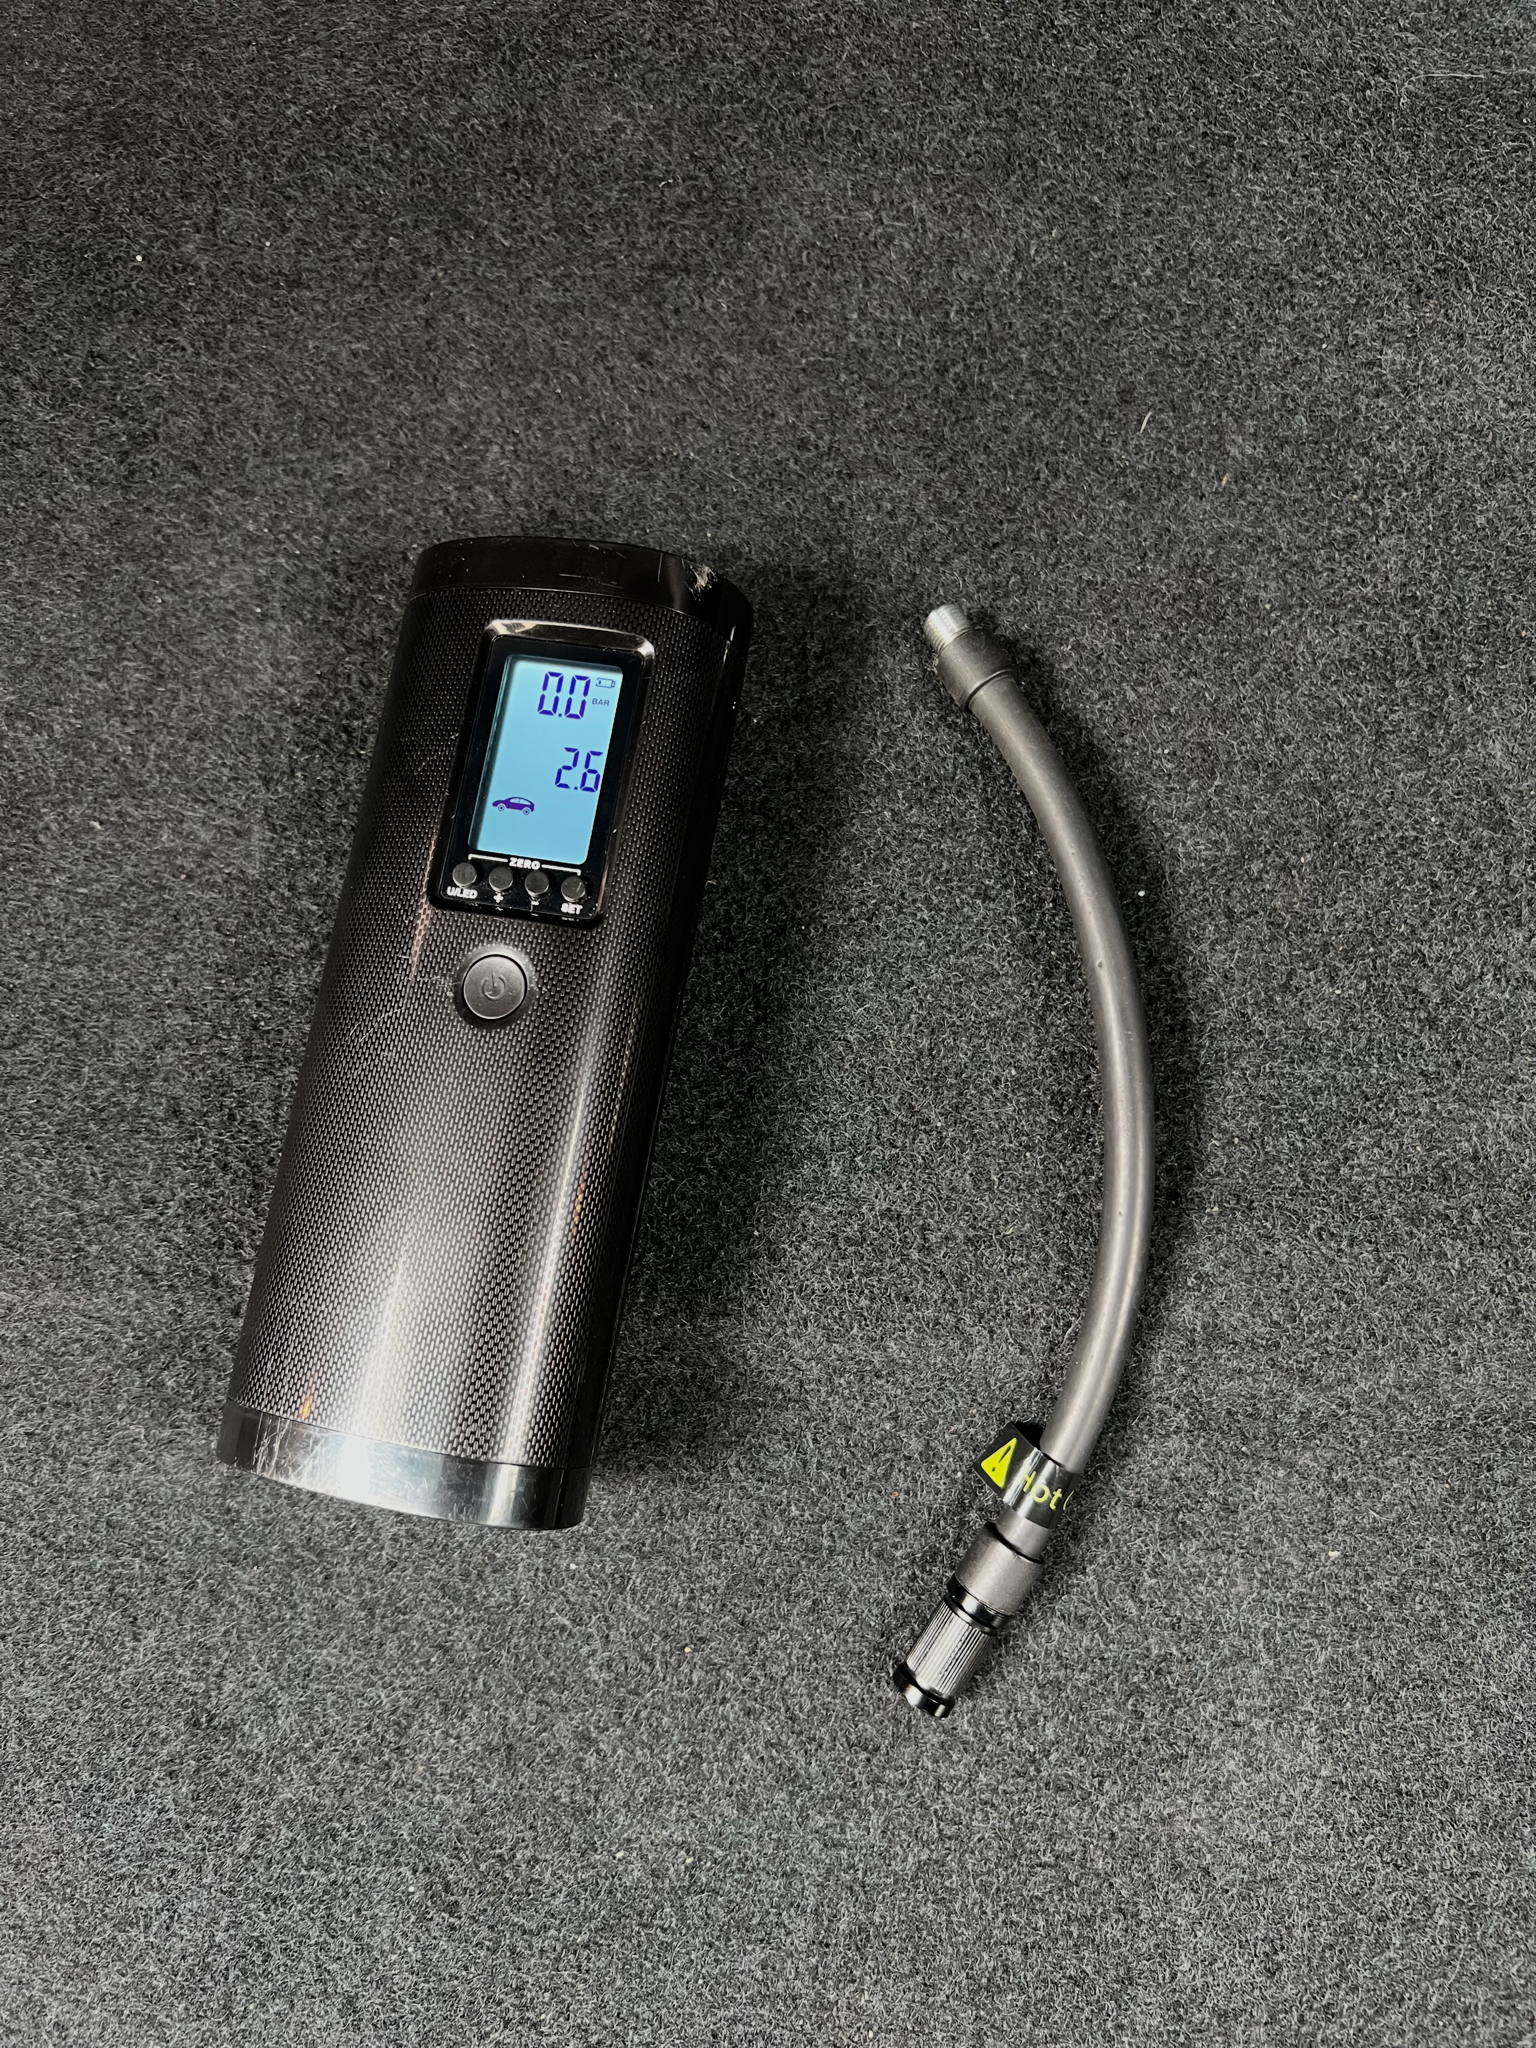
A manual floor pump with a built-in pressure gauge is ideal for home use. It gives you more control and accuracy. A portable electric pump (battery-powered inflator) is even more convenient, especially if you don’t want to manually pump. Many models let you set a target PSI and automatically stop when they reach it.
Pressure Gauge
You’ll also need a pressure gauge to check your tire pressure accurately. Many pumps include one, which simplifies the process. If not, a separate digital gauge or even a basic pencil-style gauge works fine.
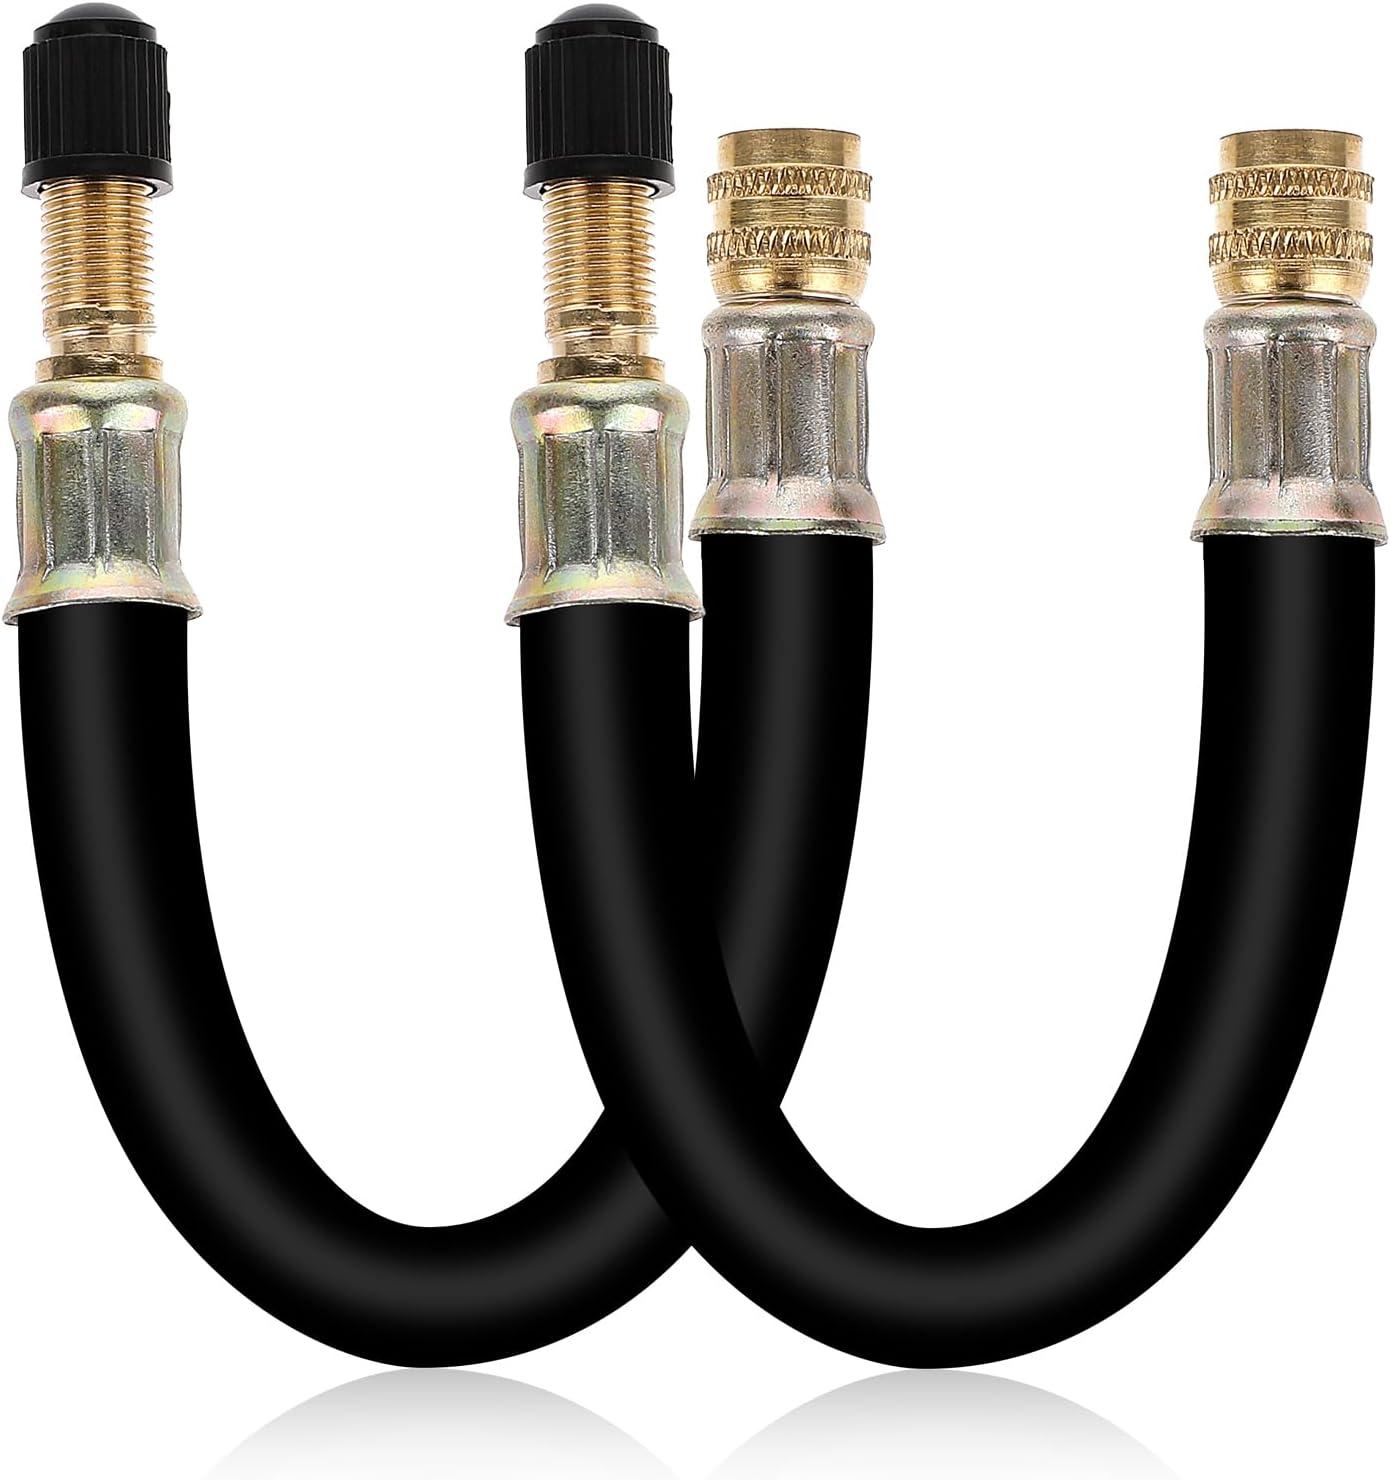
Valve Extender (Valve Adapter)
Source: Amazon
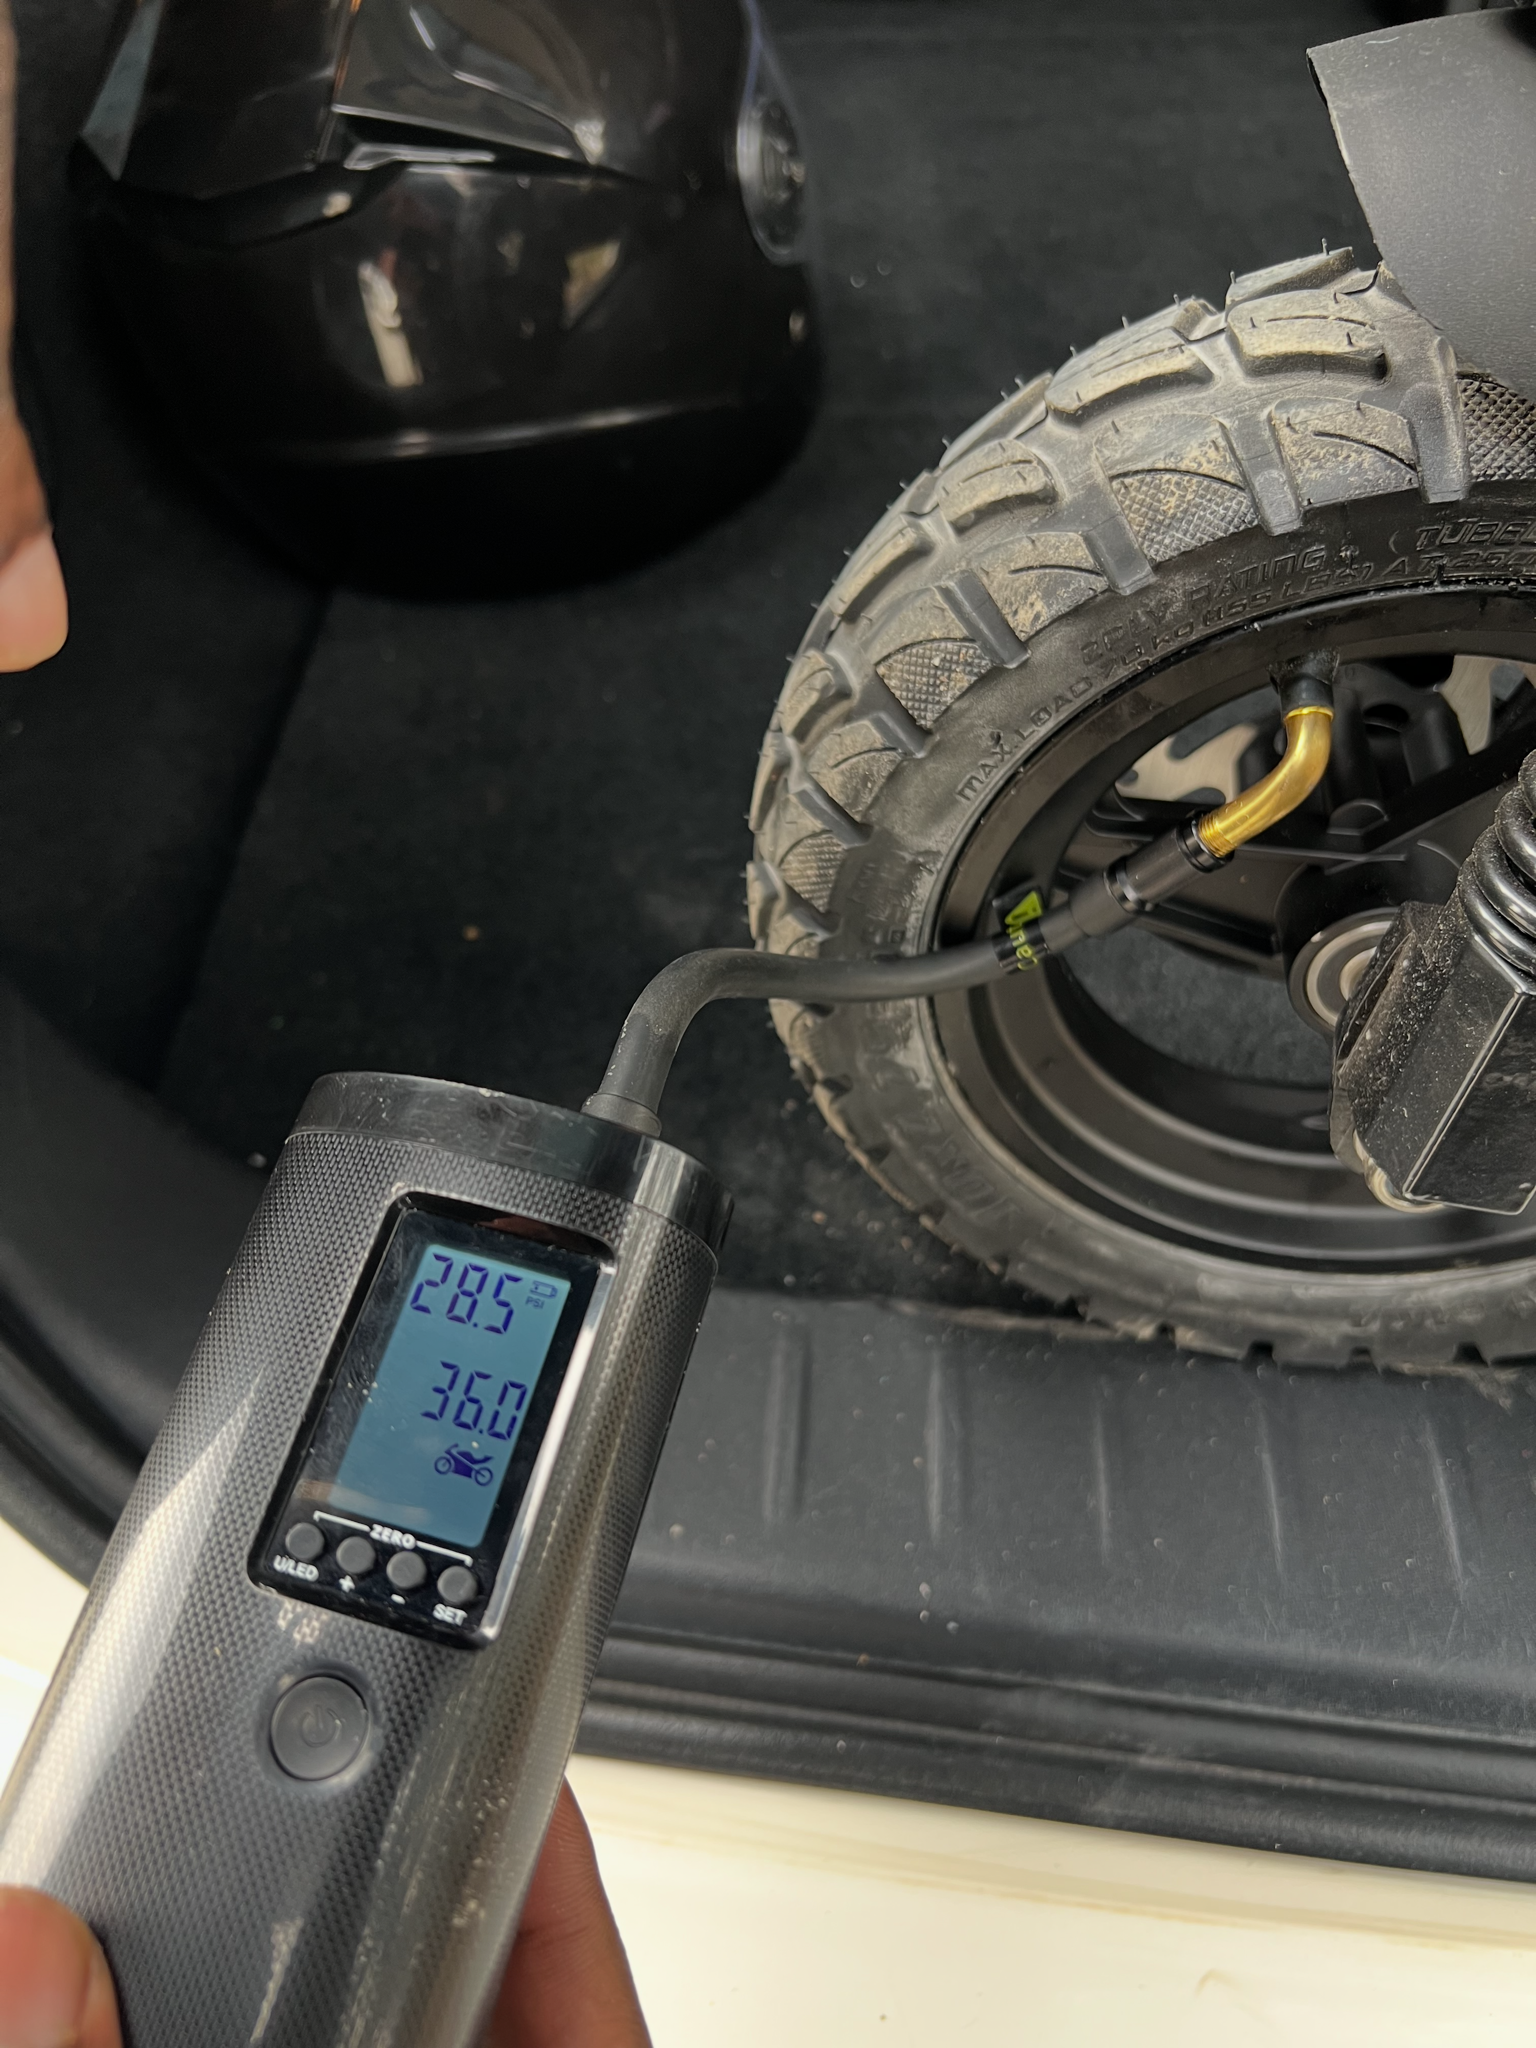
This is optional, but highly recommended if your scooter’s valve is hard to reach. Some scooters, especially those with hub motors or tight wheel designs, make it difficult to attach a pump directly. A valve extender is a short tube or angled adapter that screws onto the valve stem, giving you more room to work. Using one makes the process much easier and reduces the risk of damaging the valve.
What To Look For:
- Secure threading (no air leaks)
- Compact design that won’t interfere with wheel movement
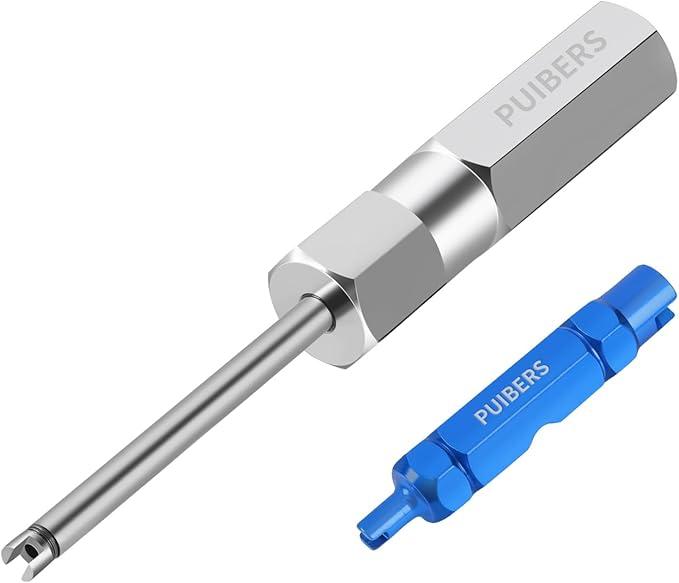
Valve Stem Tool (Optional)
Source: Amazon
This small tool tightens or removes the valve core inside the stem. You won’t need it for routine inflation, but it can be useful if you suspect a slow leak. Sometimes, a slightly loose valve core is the cause. Some pressure gauges or pump caps include a built-in version of this tool.
Cloth or Rag (Optional)
Use it to wipe dirt from the valve before opening it. This helps prevent debris from entering the valve and causing leaks. It’s also useful if a small amount of air or sealant escapes when disconnecting the pump.
Know Your Recommended PSI
Before inflating, check your scooter’s recommended tire pressure. You’ll usually find this:
- In the user manual
- Printed on the tire sidewall
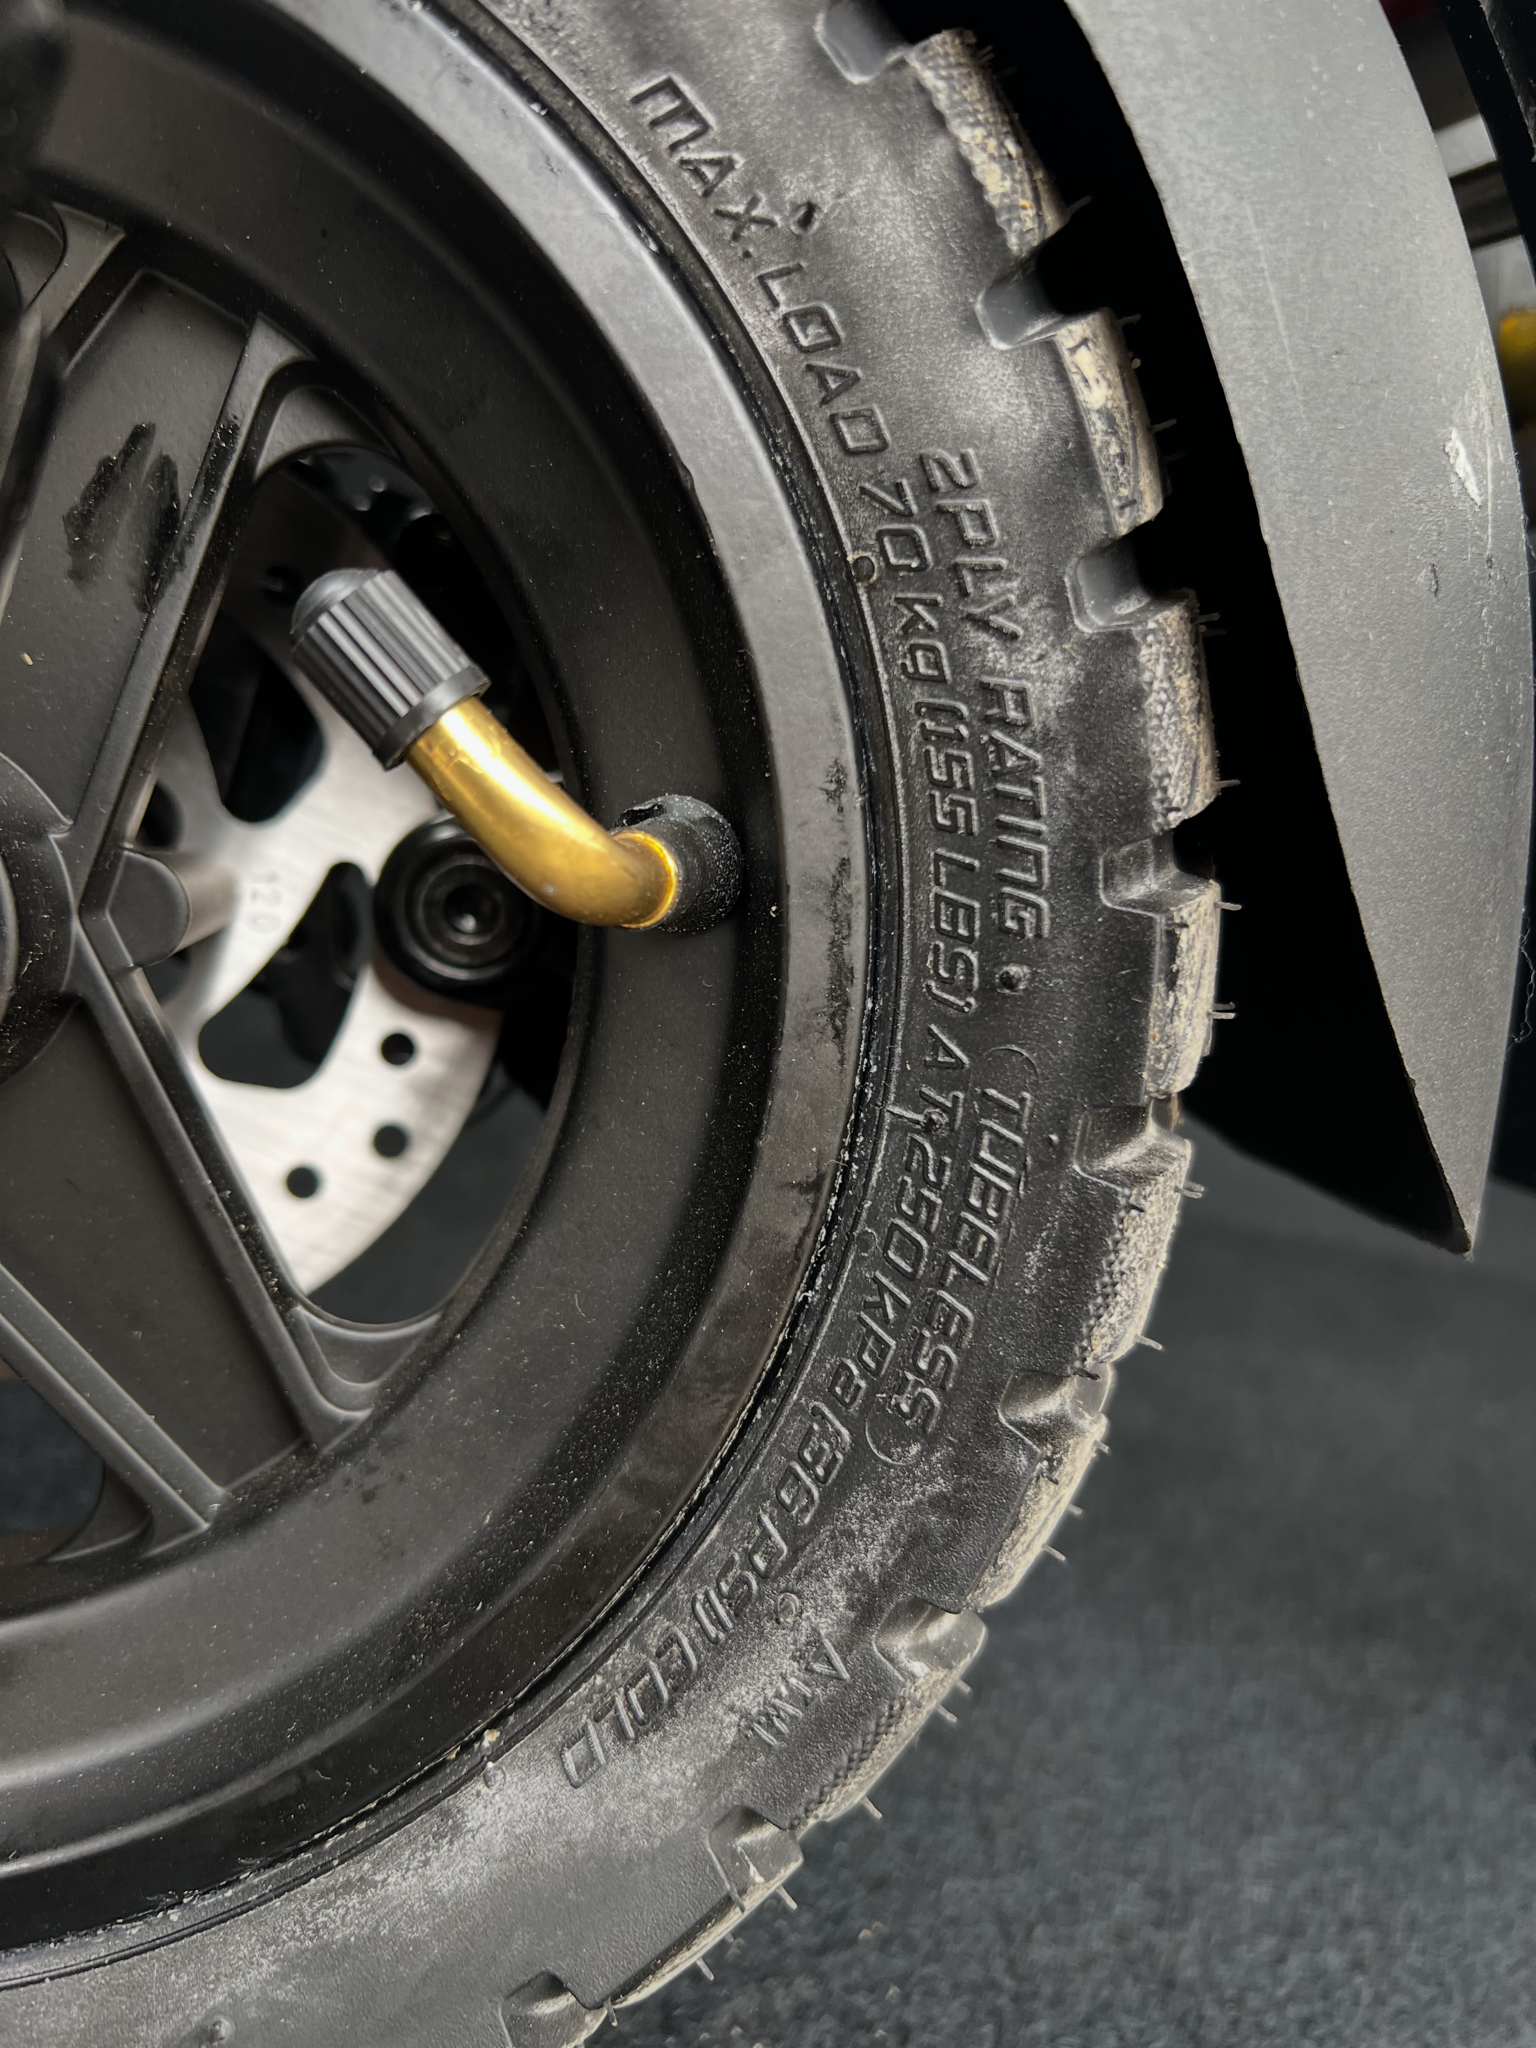
Most electric scooters fall somewhere in the 30–50 PSI range, depending on tire size and rider weight.
Important:
- Never exceed the maximum PSI printed on the tire
- Recommended pressure is usually slightly below the maximum
How To Check Your Tire Pressure
Before adding air, check your current pressure. This helps you avoid overinflation and gives you a better sense of how quickly your tires are losing air.
-
Locate the Valve
Find the valve stem on your tire – a small rubber or metal stem sticking out from the rim.
Depending on your scooter, it may be partially hidden by the wheel or motor housing.
Unscrew the cap counterclockwise and keep it somewhere safe.
-
Use a Pressure Gauge
Press the gauge straight and firmly onto the valve.
You’ll hear a quick hiss as the gauge engages – that’s normal. If the hissing continues, the seal isn’t tight.
Adjust the angle or press more firmly until the sound stops and the reading stabilizes.
-
Check the Reading
Compare the PSI reading to your scooter’s recommended range.
- If it’s below the range → add air
- If it’s above the range → release some air
For example, if your recommended pressure is 40–45 PSI and your tire reads 30 PSI, it’s underinflated.
-
Quick Visual or Feel Check (If You Don’t Have a Gauge)
You can do a quick check by pressing or squeezing the tire.
- A properly inflated tire feels firm with minimal give
- A soft tire compresses easily
You may also notice the scooter sitting lower if the tire is significantly underinflated.
Don’t Forget Both Tires
Check both front and rear tires.
Rear tires often lose pressure faster because they:
- Carry more weight
- House the motor (on many scooters)
How To Inflate an Electric Scooter Tire: Step-by-Step
Inflating a scooter tire is very similar to inflating a bicycle tire. Once you know your target pressure, the process is straightforward.
Step 1: Check Your Target Pressure
Look at the tire sidewall for the maximum PSI. Your manual will list the recommended range, usually slightly below that maximum.
Front and rear tires may have different pressure requirements, so check both.
Step 2: Remove the Valve Cap
Unscrew the cap and set it aside.
If the valve is recessed or hard to reach, this is where a valve extender becomes useful.
Step 3: Attach the Pump To the Valve
Connect your pump securely. The exact method depends on the pump type:
- Lever-lock chuck: Push onto the valve, then flip the lever to lock
- Screw-on nozzle: Thread it clockwise until snug
- Press-on nozzle: Push firmly and hold in place
Keep the valve straight and avoid bending it.
A brief hiss during attachment is normal. Continuous hissing means the seal isn’t tight — adjust until it stops.
Step 4: Pump the Tire to the Recommended Pressure
Pump in short bursts and monitor the gauge closely.
Scooter tires fill quickly, so it’s easy to overshoot.
Electric pumps are convenient, but use them carefully. Running them continuously can:
- Overheat the pump
- Lead to overinflation
Step 5: Detach the Pump (Minimize Air Loss)
Disconnect the pump quickly and cleanly:
- Lever lock → flip open and pull straight off
- Screw-on → unthread smoothly
A brief hiss is normal and usually results in minimal pressure loss.
After removing the pump, recheck the pressure to confirm accuracy. With poor connections or long extenders, you could lose more air (sometimes up to 5–8 PSI), so a quick recheck is always worth it.
Step 6: Return the Valve Cap
Screw the cap back on. It helps keep dirt out of the valve and reduces the risk of slow leaks over time.
What To Avoid:
- Overinflating beyond the max PSI
- Using pumps without a gauge
- Forcing the pump onto the valve at an angle
- Ignoring slow leaks or frequent pressure drops
How Often Should You Check and Inflate Scooter Tires?
How often you need to top up your tires depends on how you ride, the type of tires you have, and even the weather. Tire pressure isn’t something you set once and forget – it gradually changes over time. As a general rule, make pressure checks part of your regular routine. Here’s how often to check based on real-world use:
Frequent Riders (Daily or Weekly Use)
If you ride most days or rely on your scooter for commuting, check your tire pressure about once a week. Pneumatic (air-filled) tires naturally lose air over time – typically 1–3 PSI per week, depending on the tube, valve quality, and riding conditions.
Why It Matters:
Even small pressure drops can affect:
- Range (more rolling resistance)
- Ride comfort (softer, less stable feel)
- Tire wear (increased sidewall stress)
Occasional Riders
If you only ride occasionally, check your tire pressure before each ride. Tires lose air even when sitting unused, especially with temperature changes. It’s common to find them noticeably underinflated after a few weeks.
Climate and Temperature
Temperature has a direct impact on tire pressure because air expands and contracts with heat. In colder weather, air contracts and lowers tire pressure, while in hotter conditions, it expands and increases it. As a general guideline, a 10°C drop in temperature can reduce pressure by around 1–2 PSI.
What this means in practice:
- In winter, you may need to top up more often
- In summer, tires left in direct sunlight can exceed their normal PSI
Terrain and Usage
How and where you ride also affects how often you should check your tire pressure. Riding on rough roads, uneven terrain, or off-road surfaces can lead to small pressure losses over time, especially with tubeless setups. Carrying heavier loads or riding near the scooter’s maximum weight capacity also puts additional stress on the tires.
Because of this, it’s a good idea to check your tire pressure more frequently if your riding conditions are demanding. When carrying more weight, aim for the higher end of the recommended PSI range to maintain stability, reduce strain on the tire, and prevent premature wear.
What To Look For
- Tires that feel softer than usual
- Reduced range or slower acceleration
- A less stable or “dragging” ride feel
These are often early signs your pressure is too low.
Troubleshooting Common Tire Inflation Issues
Even when you follow the correct steps, a few common issues can come up. Most are easy to diagnose and fix once you know what to look for.
Tubeless vs. Inner Tube Tires: Does It Change Inflation?
The inflation process is the same for both, but a few key differences affect how often you inflate and what to watch for.
- Air retention: Tubeless tires usually hold air longer thanks to an airtight seal and internal sealant. Tubed tires lose pressure more gradually over time, so they typically need more frequent top-ups.
- Pressure levels: Tubed tires are often run at slightly higher pressures to reduce the risk of pinch flats. Tubeless tires can sometimes run a bit lower for improved comfort, but still need to stay within the recommended range to avoid instability.
- Puncture behavior: A punctured tubed tire will continue losing air until the tube is repaired or replaced. Tubeless tires can sometimes self-seal small punctures during inflation, which means they may hold pressure afterward.
- Bead seating (tubeless only): If a tubeless tire goes completely flat, it can lose its seal with the rim. Re-inflating may require a quick burst of high-volume air to reseat the tire. Tubed tires don’t have this issue.
Why Correct Tire Pressure Matters
- Better performance and range: Underinflated tires increase rolling resistance, forcing the motor to work harder and draining the battery faster. You may notice slower speeds and reduced range.
- Safety and handling: Low pressure makes tires feel soft and unstable, while high pressure reduces grip. Both can affect control, especially when braking or riding on wet surfaces.
- Flat prevention: Underinflated tires are more prone to pinch flats and damage from impacts. Proper pressure helps the tire maintain its shape and resist punctures.
- Longer tire life: Incorrect pressure causes uneven wear. Too low wears the edges faster, while too high wears the center. Keeping the right PSI helps tires last longer.
- Ride comfort: Low pressure can feel sluggish and bouncy, while high pressure makes the ride harsh. The right balance gives you a smoother, more controlled ride.